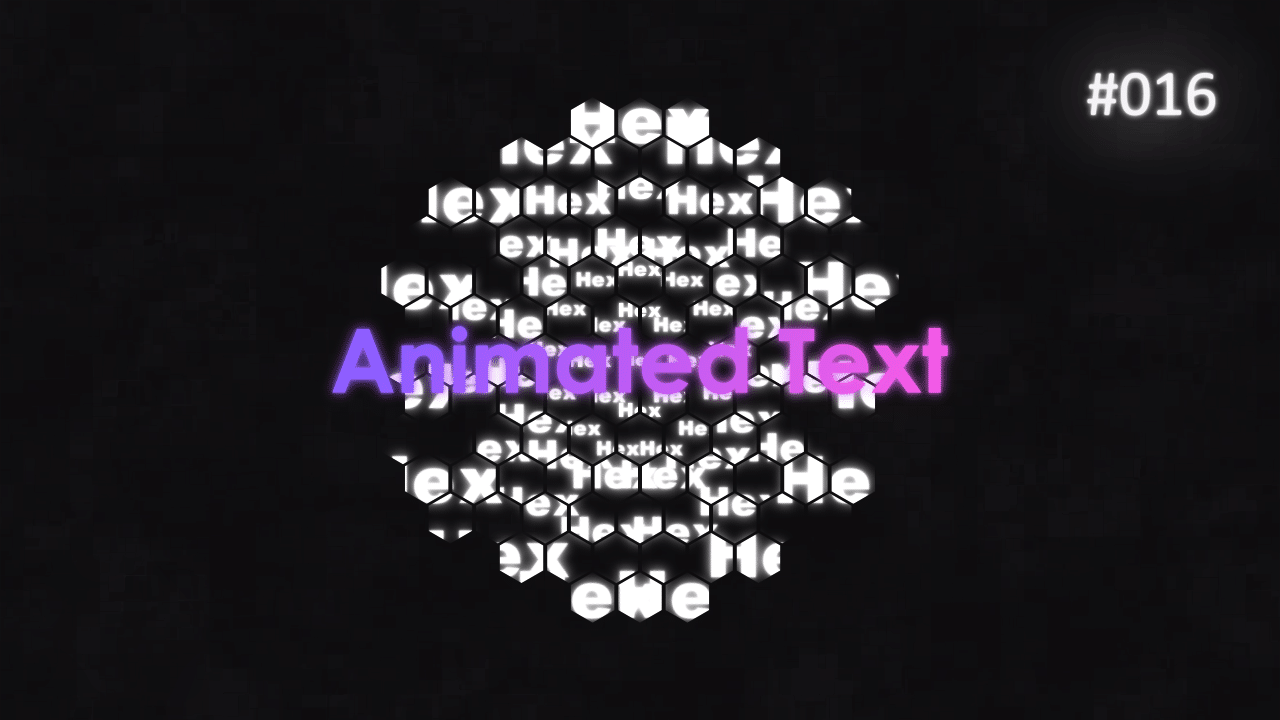
Tutorial 16: Honeycomb Hexagon Text Animation
In this tutorial, we will finish the animation, by animating text and using hexagon honeycomb patter, to hide parts of it. First part is located here on YouTube. You can read and copy expressions used here, in my previous blog post.
Inspiration for this tutorial came from this animation. Make sure to check out Jeroen Krielaars Instagram as he has some awesome designs in his work.
Overall Set Up
Overall set up is simple – keep everything on 1 Null Layer and 1 Master Text layer. This way, we can change the main word across all compositions, adjust offset, scale and more.
Plus this will make animation much easier.
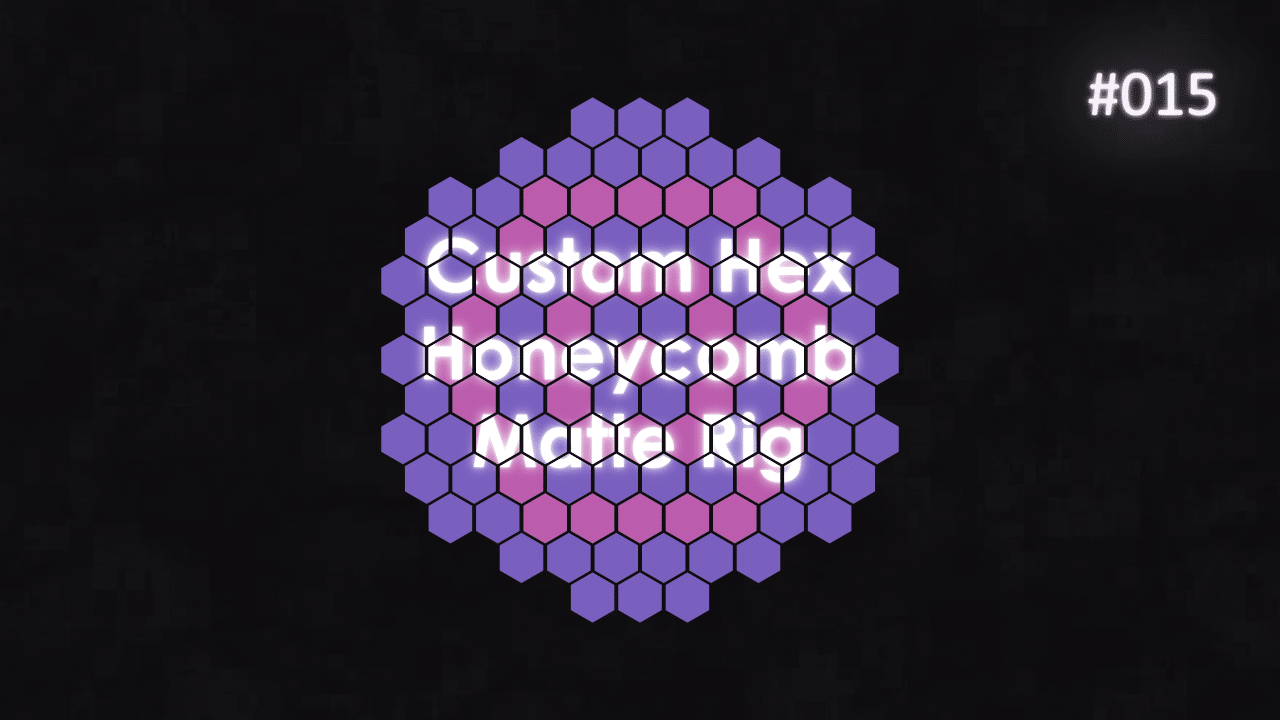
Export Mattes
From previous tutorial, I created a rig which allows me to select individual rings for mattes.
To speed up rendering, export individual hexagon rings as mattes for your text. Then by stacking them in final animation composition, you can assign them to one text layer at a time.


Center Anchor Point
Center Position
Add the above expressions to Anchor Point and Position of your Master Text layer, in Master Text composition. These expression will center align anchor point and then center align layer to composition. This way, your text will stay exactly dead in the center of the composition, no matter how short or long it is.
It works on multi line paragraph text, too.
Text Arrays – Small, Medium and Large
Drop your Master Text composition into new composition – Text Array. Make sure, to enable Essential Graphics properties on your Master Text – Scale, Text Source and Text Rotation. We will use those properties in an Array, to control position and size of radial array.
Anchor Point with Offset
Rotation
By creating a master Controll Null and few sliders, you can link Anchor Point Offset and Text Scale to 2 controllers. They will be useful in animation and tweaking the position and size of all the text layers in the rig.
Make sure to link those 2 sliders in Essential Graphics Panel, so you can access them in another composition, where we will animate the whole thing.
Animate Everything
Once you assemble individual hexagon ring mattes and Text Arrays, simply animate text in any way you want. By offsetting keyframes and randomising values, you can create very complex animations, very quickly.
The key in creating Main Text assembly from parts, is to use multiple copies of Master Text layer at once. They should point to different mattes and have different scale values. To assemble the text, all those Master Text layers should animate towards one value and position. For example 20% Scale. This will give illusion of a build up, as the text will start settling down into 1 place.
This project file contains all the assets necessary to make animation in the tutorial in final form. Everything is labeled, linked, with expressions and ready to use, if you wish to make your own version or just play around with it.
If you have any suggestions for tutorials or how I can improve, please do get in touch. I would love to hear from you.