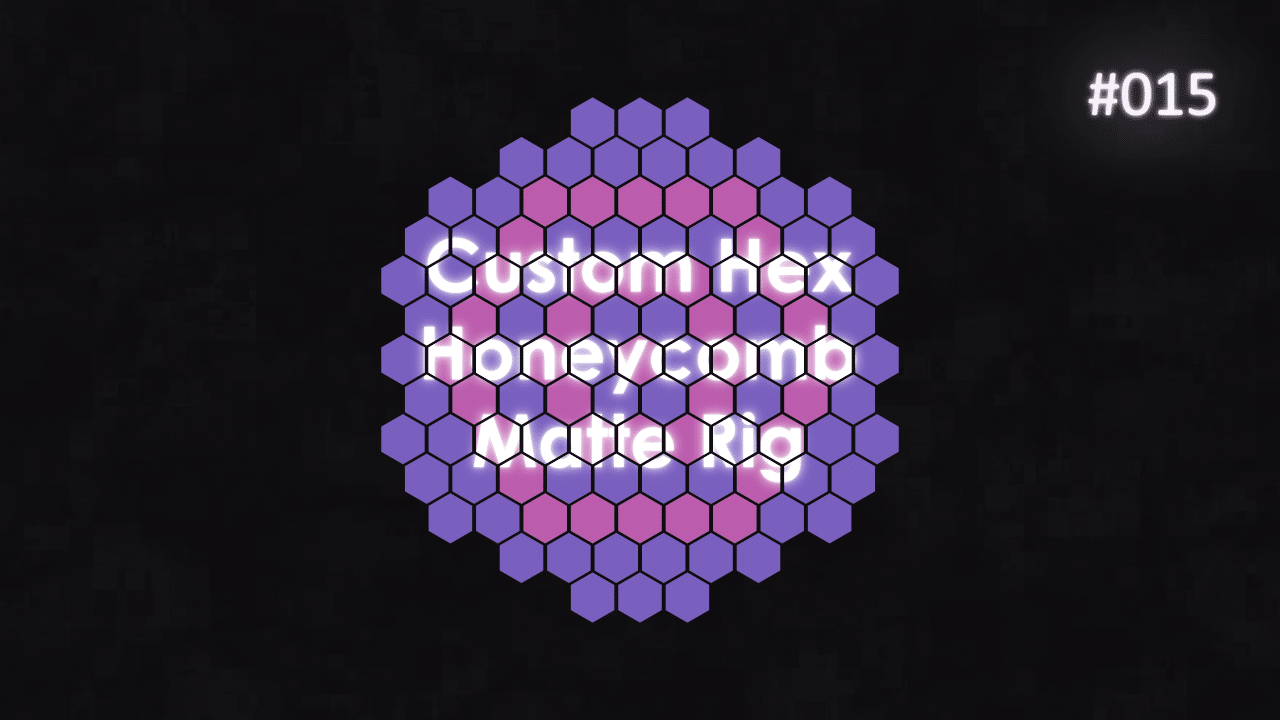
Tutorial 15: Honeycomb Hex Matte Rig
Inspiration and Idea
Inspiration for this tutorial came from a Reddit post. User asked how you could make something like this. I got really intrigued and spend few days thinking how I would approach this design. Credit goes to Jeroen Krielaars work, original designer of the animation.
Please go visit his Instagram, as he has really advanced set up ideas, I haven’t seen before.

Set up planning in illustrator
It is very useful to spend some time to plan out overall approach. Create some sort of stages and how each one of them will “feed” into another one. This way, you can speed up your rig creation and create constraints early.
For example, I wanted to use Essential Graphics properties extensively, to be able to modify hexagon size, spacing and visibility in final matte selection stage.
Flexibility vs performance
Before we dive into the expressions used, let me warn you that this rig is pretty taxing on your machine. It is a series of Essential Panels, driven by Nulls, that are linked to new set of Essential Panel Controllers, which are inside another Comp that has another Text Rig and so on.
If you are looking for a one-off simple solution, I would suggest to create a honeycomb hex grid in Illustrator, import it into After Effects and manually create matte groups with pre-comps. It will be quicker, but you won’t be able to change grid size after import.
If you think your machine is up to the task, this rig will give you a lot of flexibility.
Plus, in second part of this tutorial, I ended up exporting PNG mattes from the rig we created. Then I imported them back into After Effects and used them to mask out the text. This small workaround let me improve After Effects performance, while still giving me an option to “fall back” on the rig, in case I needed it.
Before writing code
Original approach was to control everything with few sliders and semi-automate this rig as much as possible. To do that, I used sliders, that are controlling hexagon radius, gap between each shape and sliders that calculate Apothem of each hexagon.
Because we will be dealing with 100+ layers, I want to apply all the necessary expressions to a few layers first. Then duplicate them and offset them in layer stack (drag them up or down). Each shape, should automatically “fall into position” with help of expressions. By using a lot of index+1 expressions, this will help us automate this step easily.
By linking all the necessary controllers to hexagon properties first, such as radius, opacity, colour, before duplication, we can ensure that every hexagon will refer to those controllers, when we duplicate it later on.
You can think of it in this way:
Create Shape > Link All Properties To Null Sliders > Duplicate x100 (everything still points to same sliders) > Control it all from one place
Apothem Formula
Very simple formula, that helps us calculate Apothem in each Hexagon. Please note that I applied this formula to a slider on a Control Null layer. This formula refers to another slider (hexRadius), that drives each hexagon size.
Individual Hex Shape Position
Add this code to individual hex shape Position e.g. Hex 2, Hex 3 and so on. This is the shape, that “follows” leader Hexagon (called Row 1, Row 2 and so on).
This code simply takes position from layer with higher index. Then it uses variables like border between shapes, size of hexagon apothem. Then it offsets position of the hexagon we apply this formula to, relative to position of a hexagon with a higher index value.
I’m using a lot of index+1 and main control layers (Nulls with Sliders). This way, I can simply duplicate and link everything with a few controllers, to modify 100+ layers at once.
Shift whole row – left or right
This code is the most complex one, that we are using in the entire rig. And it does most of heavy lifting. Apply this code to a “lead hexagon” in a row only, for example Row 2. Naming is very important, otherwise you will get an error. This code works on “Row 1, Row 2, Row 3 …” naming system.
By using split command, we are separating Row Leader hexagon’s name into 2 values. Then, by substracting 1, we are forcing expression to look at previous “row leader”. This way, each leader is taking initial position from the row above and so on. This continues, until Row 2 looks at Row 1, which controls position of the entire Honeycomb Grid.
By using Modulus Operator, we can determine if layer’s name is even or odd, in number. Then, we simply shift it left or right, and create a hexagon honeycomb grid pattern easily. This is done with Ternary Operator, which you can read more about it here.
Opacity based on distance


Final matte assembly
Idea behind this Expression is simple – show the layer (100% opacity), if the distance of a layer is within specified range.
We are “pointing” most of the variables to master CTRL Null layer with all the sliders we created, then we calculate length and max length that we want to use to hide or show our layers.
And by using double if statement, if this AND this is correct, then do this, otherwise that, we can ensure that the only layers are visible, that are within specified distance of our CTRL Null layer.
Since length expression works in 360 degrees, we can get away with creating a quarter of the design. Then later by using this design in another comp x4, we can reassemble the final pattern and look.
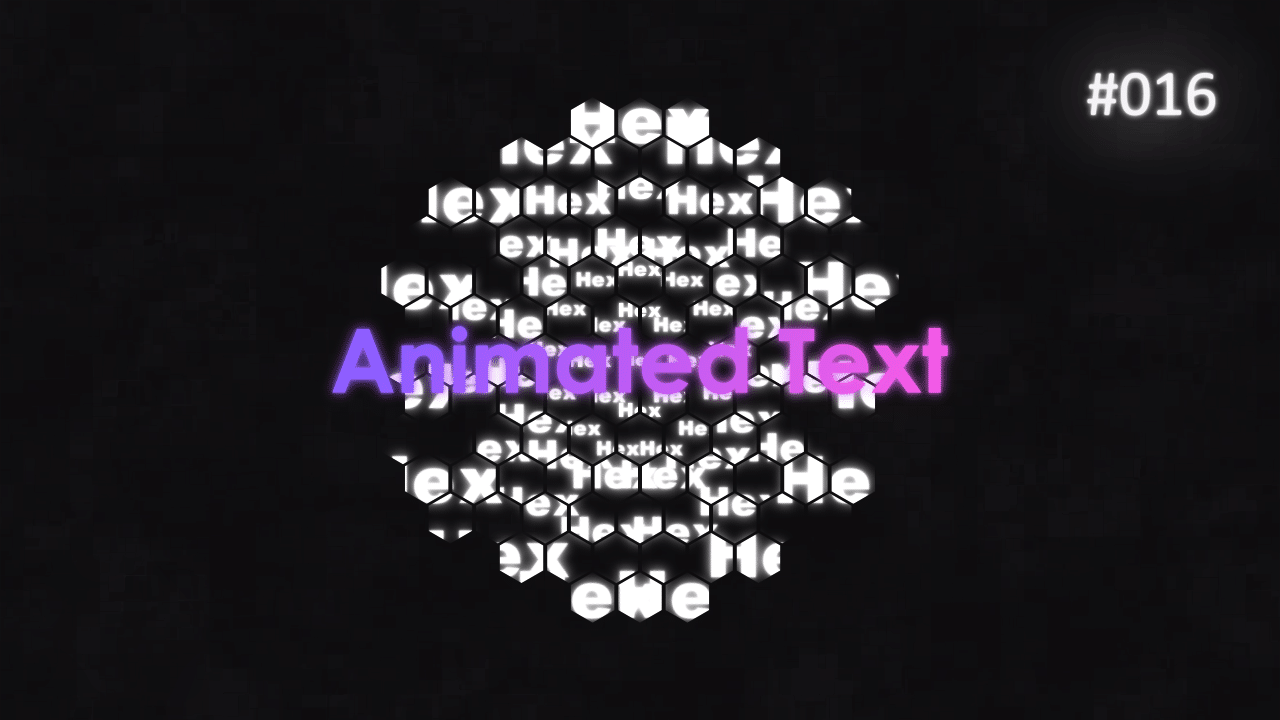
Examples of a working rig
Below you can see results of my experimentation of a working rig. Make sure to check out second tutorial, where I will show you how to assemble entire thing with a Text Rig and create final animation.
This project file contains all the assets necessary to make animation in the tutorial in final form. Everything is labeled, linked, with expressions and ready to use, if you wish to make your own version or just play around with it.
If you have any suggestions for tutorials or how I can improve, please do get in touch. I would love to hear from you.