Initial ideas
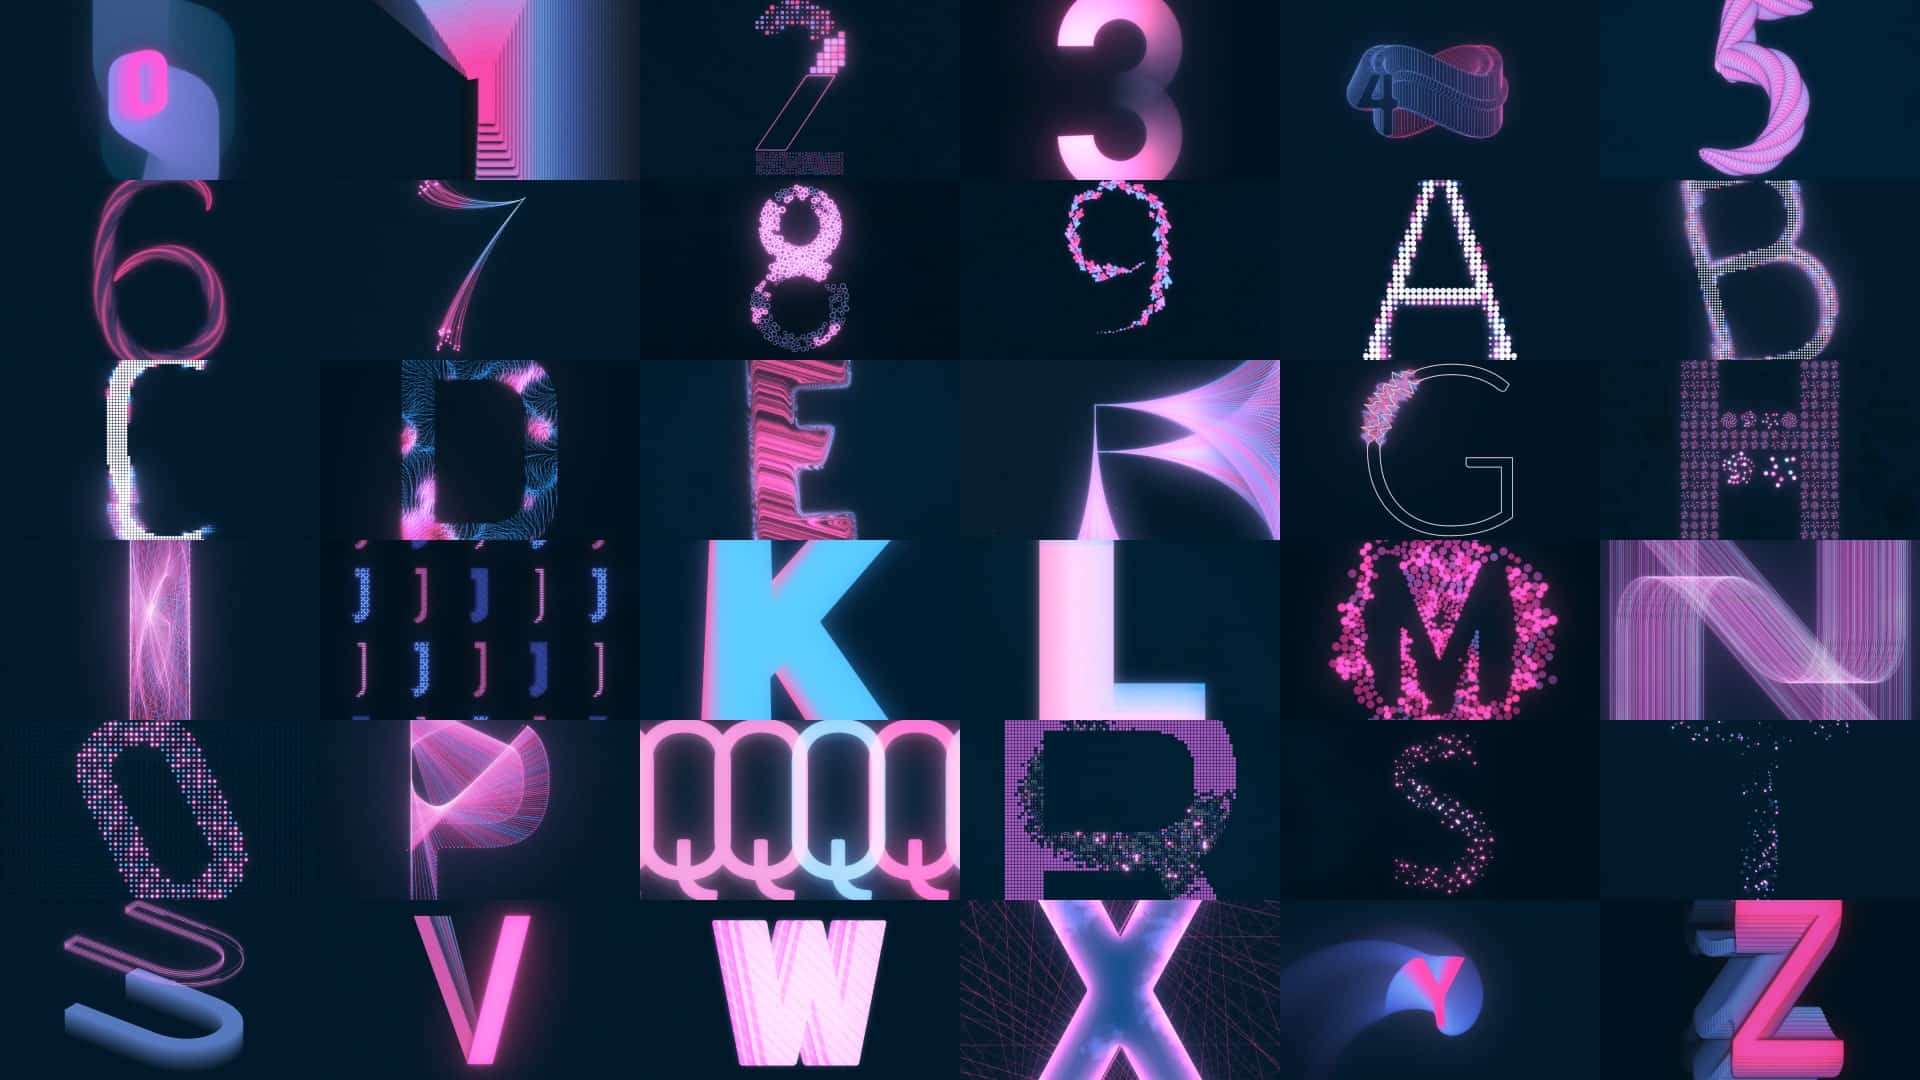
In 2022, I have decided to tackle a long form personal project in the form of 36 different letters and numbers, while embracing Blender procedural system of Geometry Nodes. I wanted to learn how to use the software betters and explore different ways of creating 3D designs, that are full of details and textures.
It all started with bunch of simple sketches, with 1-2 words description of what I had in mind. Then, deeper dive into Pinterest for inspiration. And finally tackling 1 letter at a time, per day.
It is worth to note that in this image series, I have been heavily influenced and inspired by Mantissa work, which is full of details and textures.
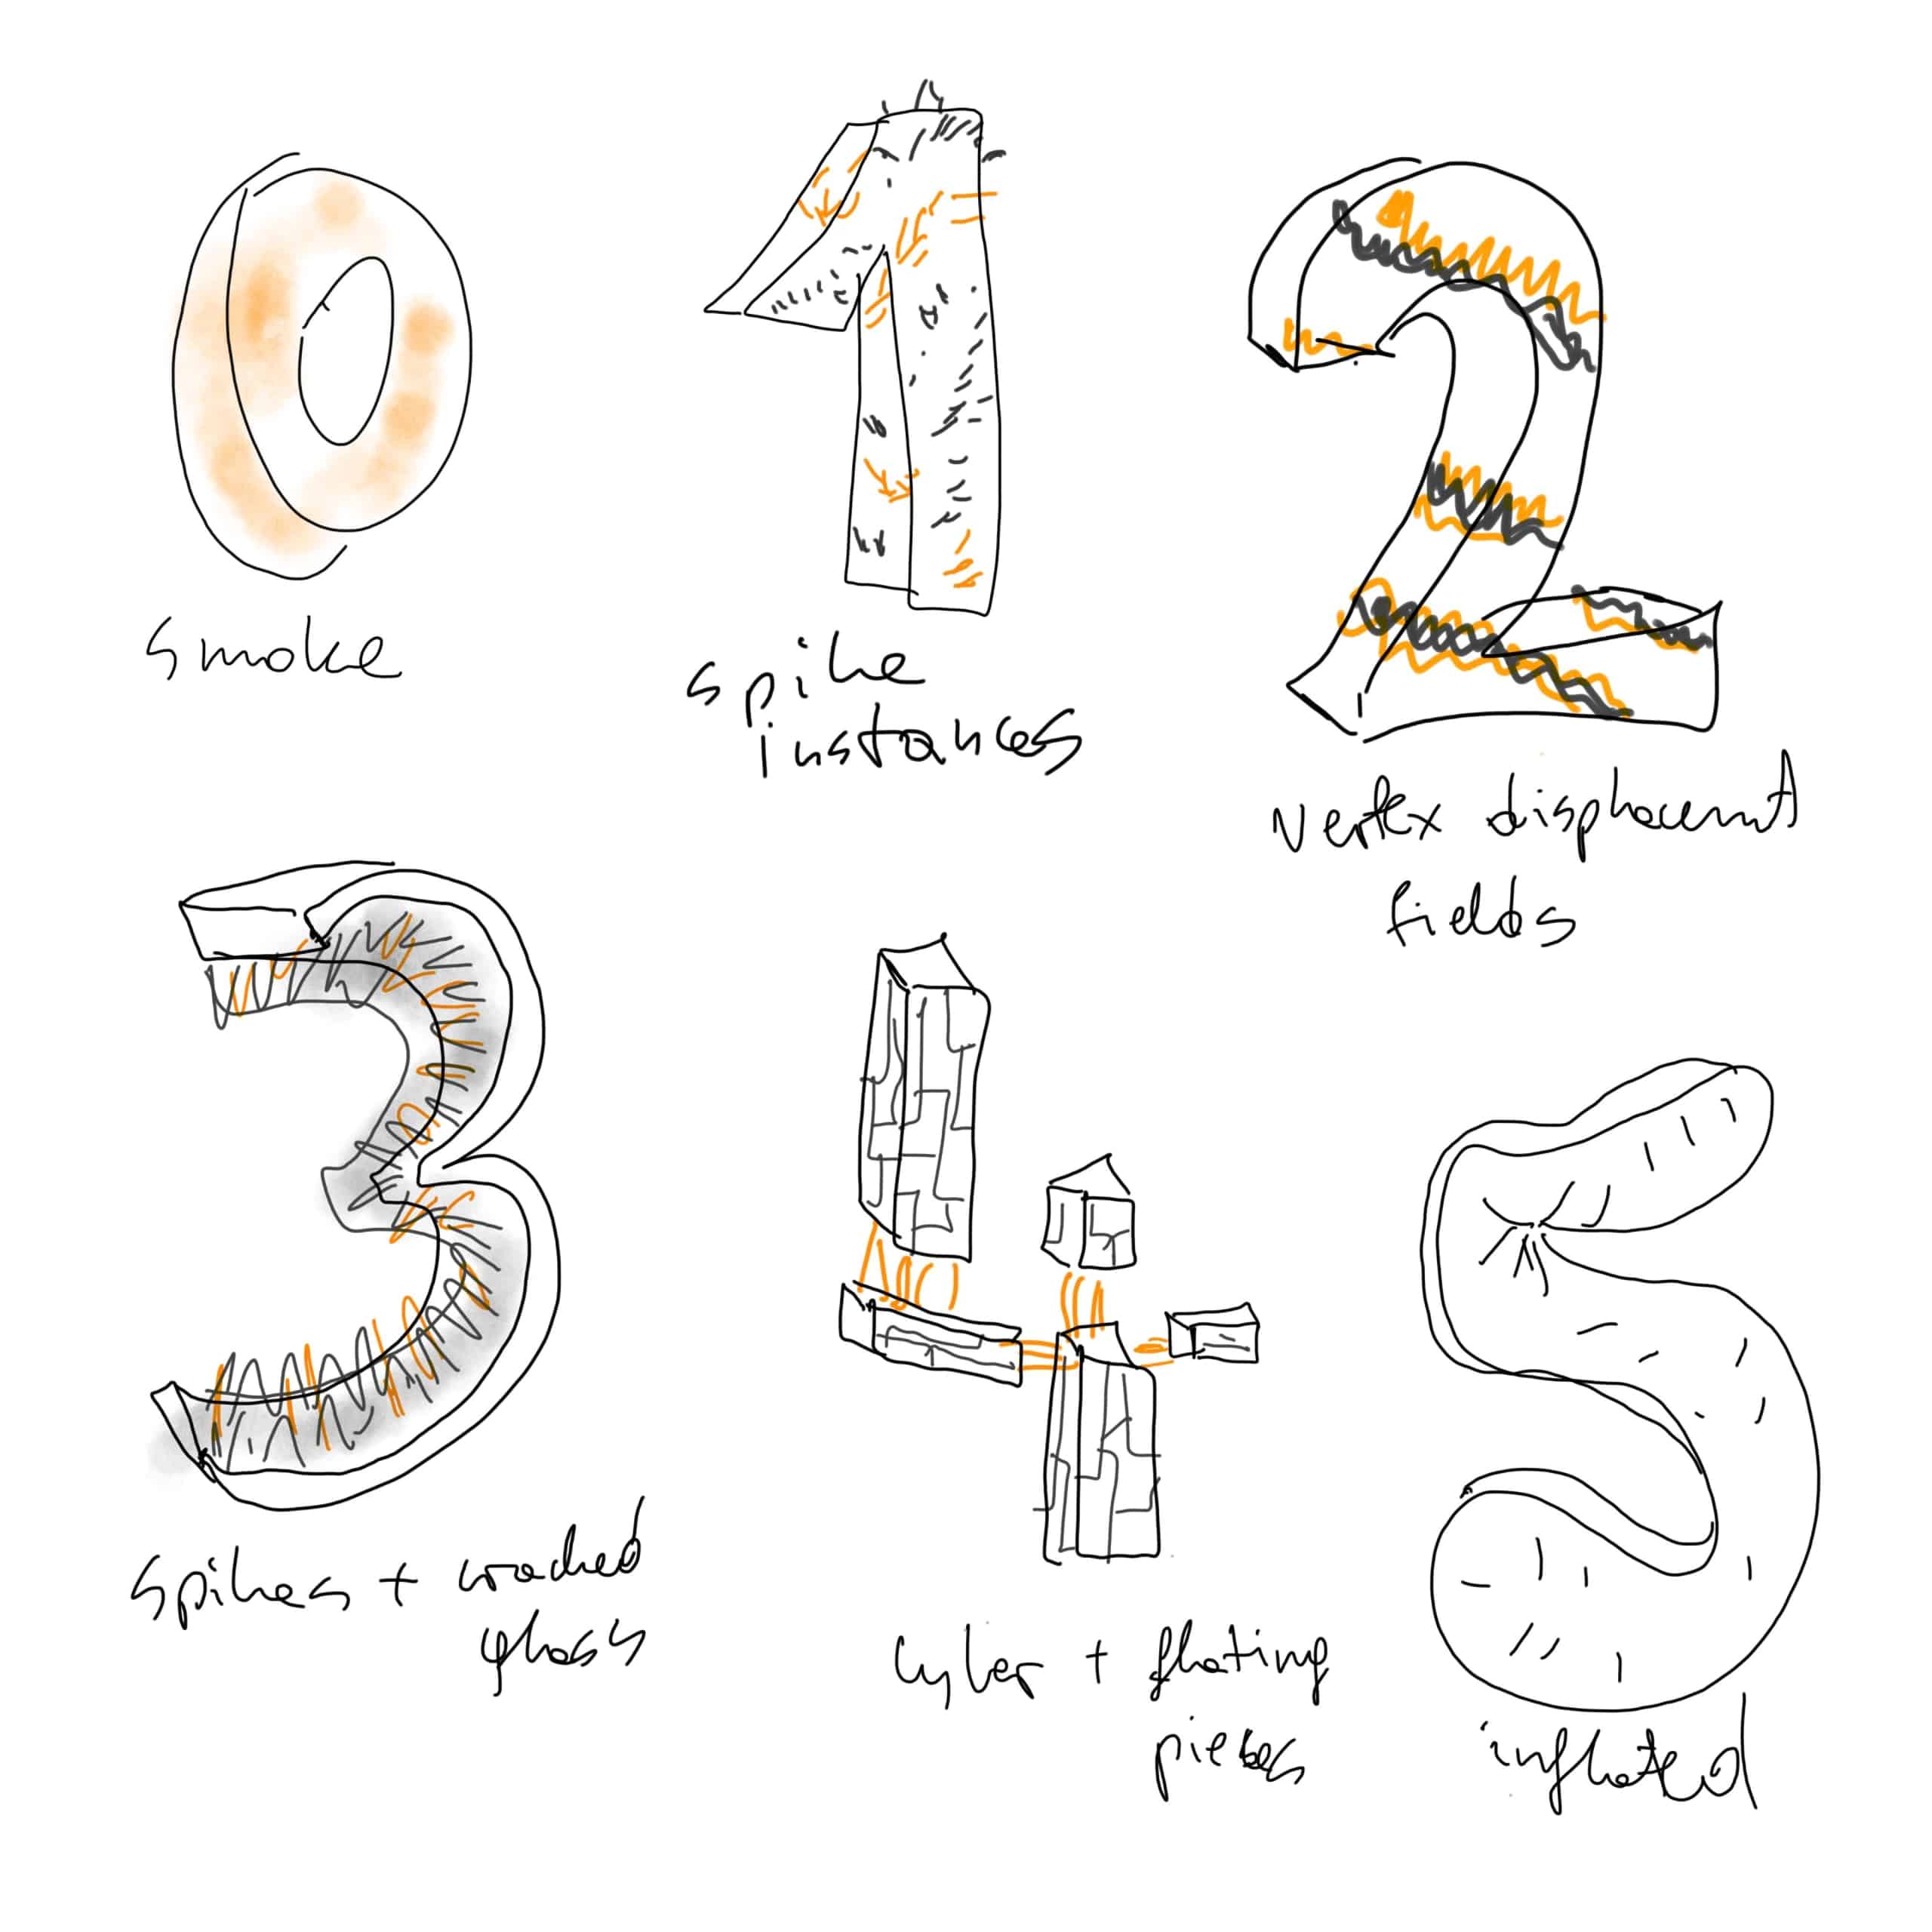
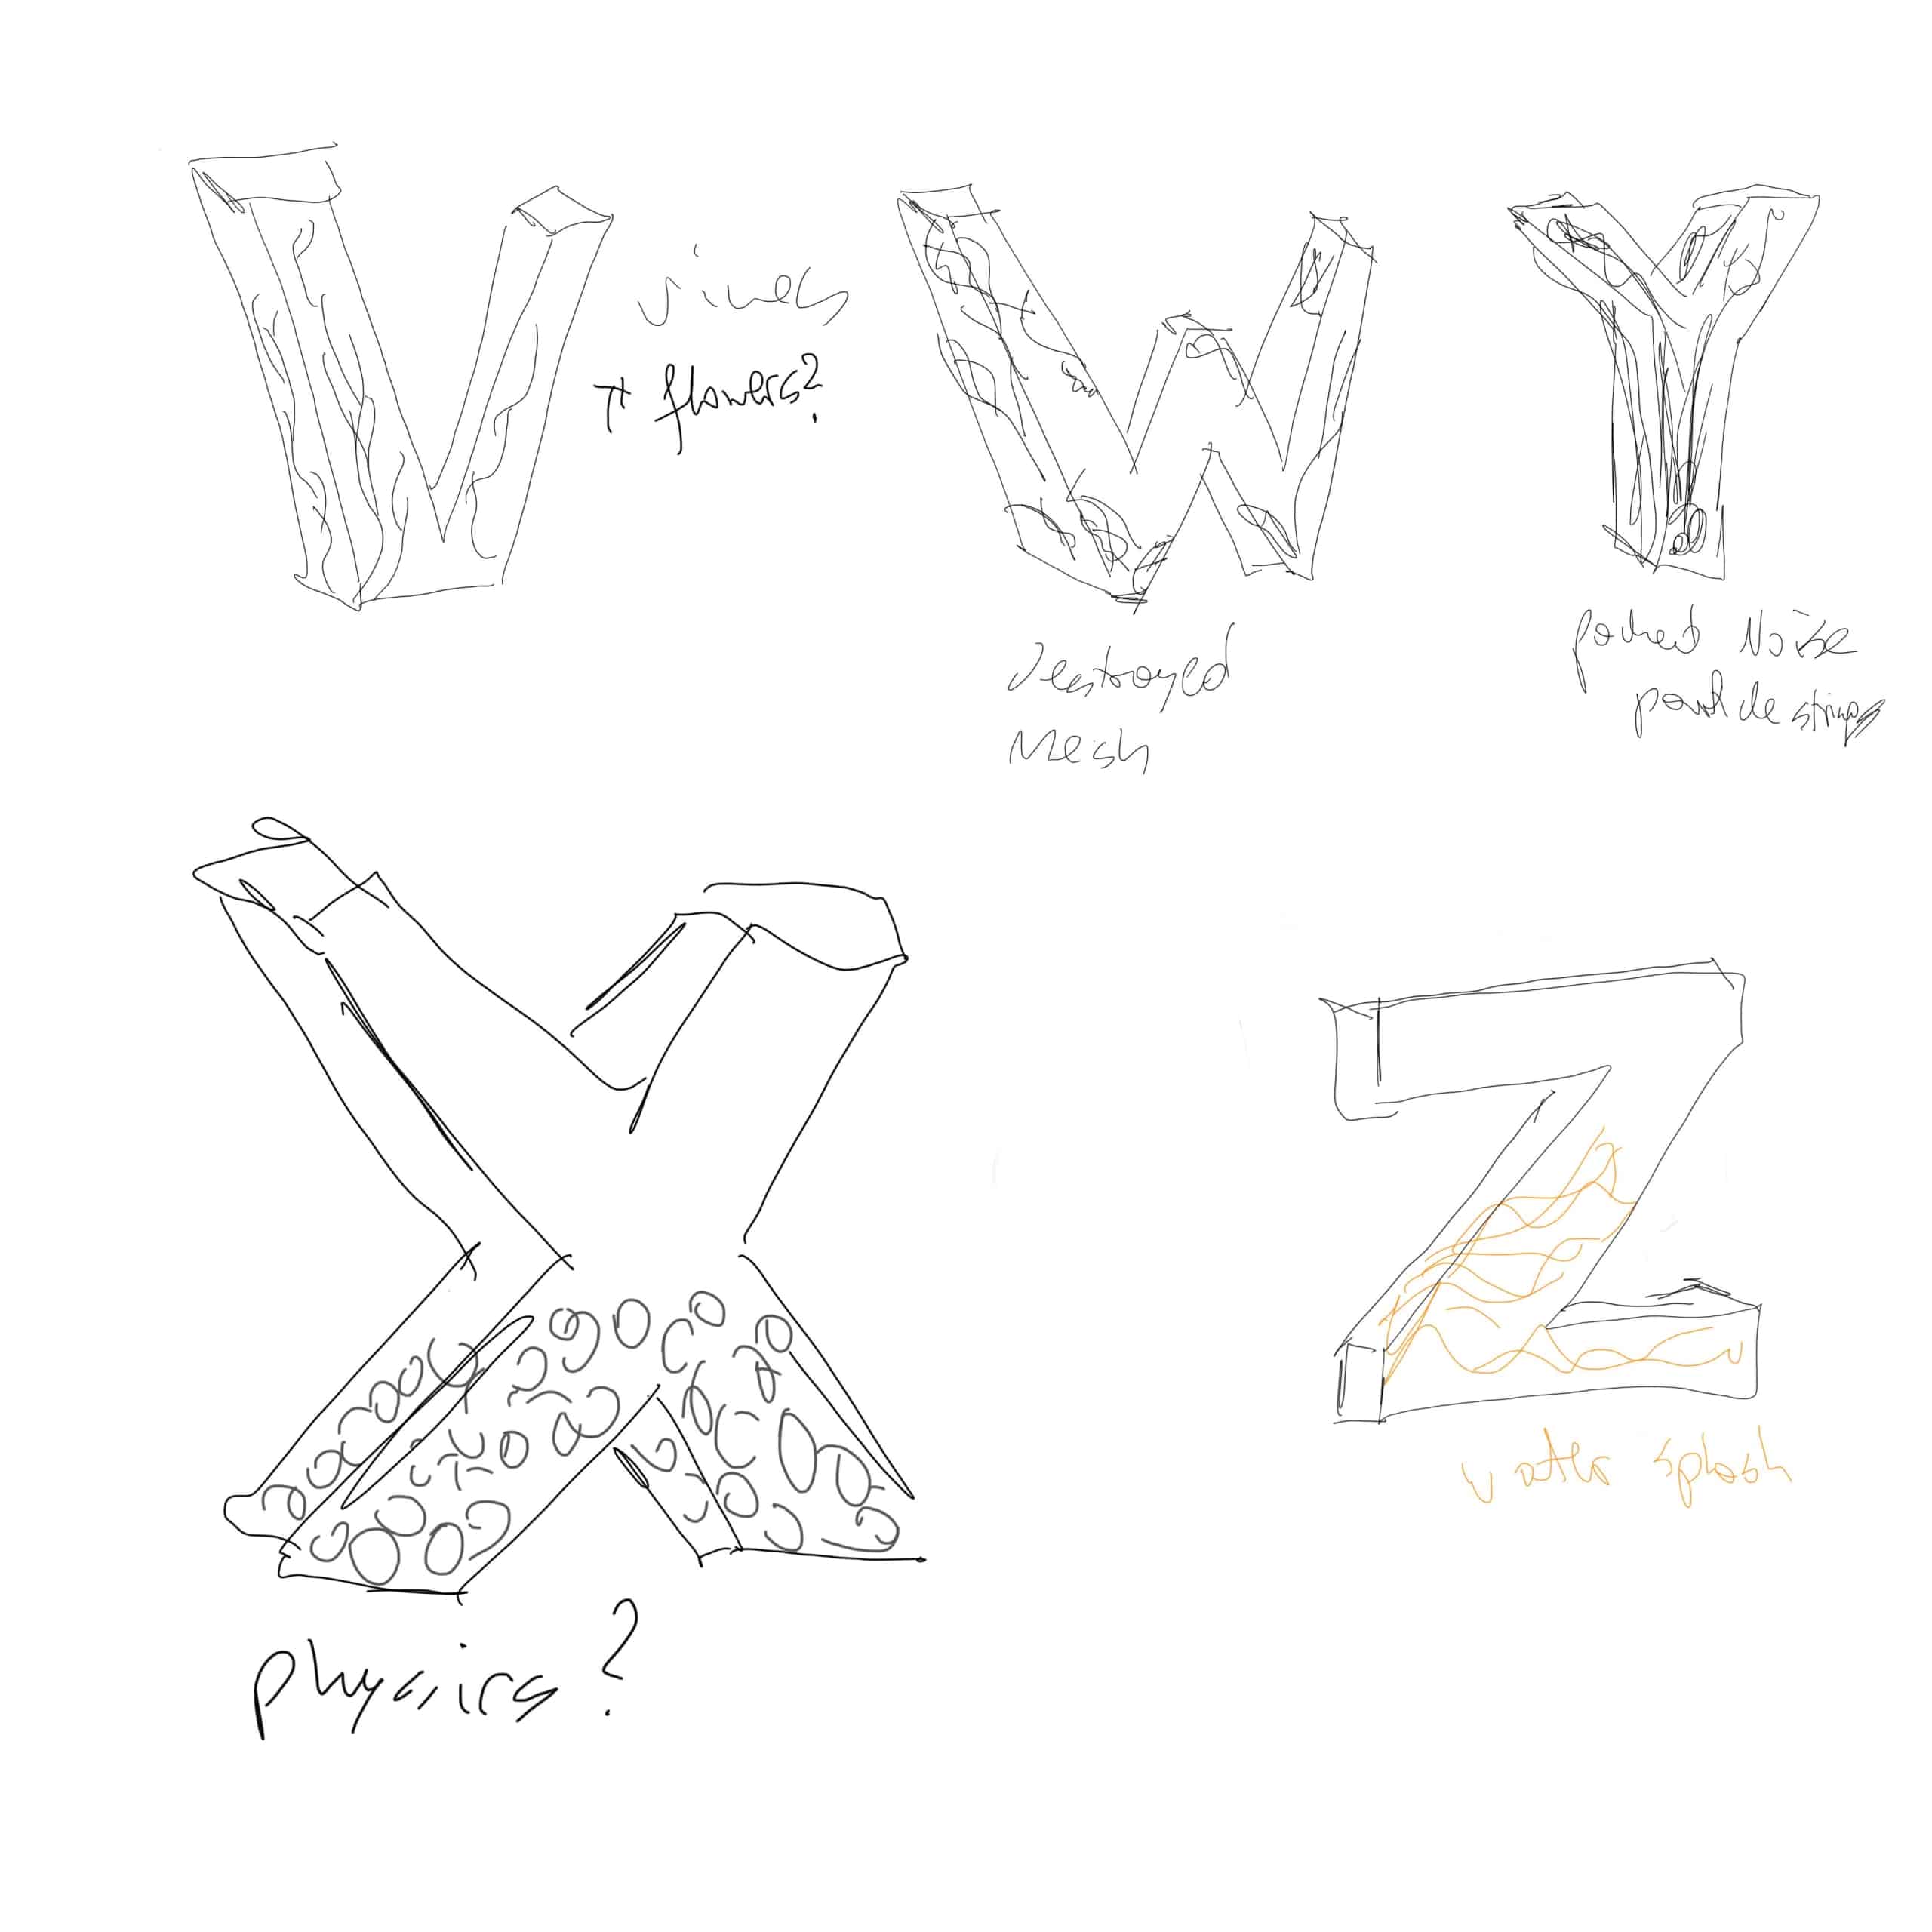
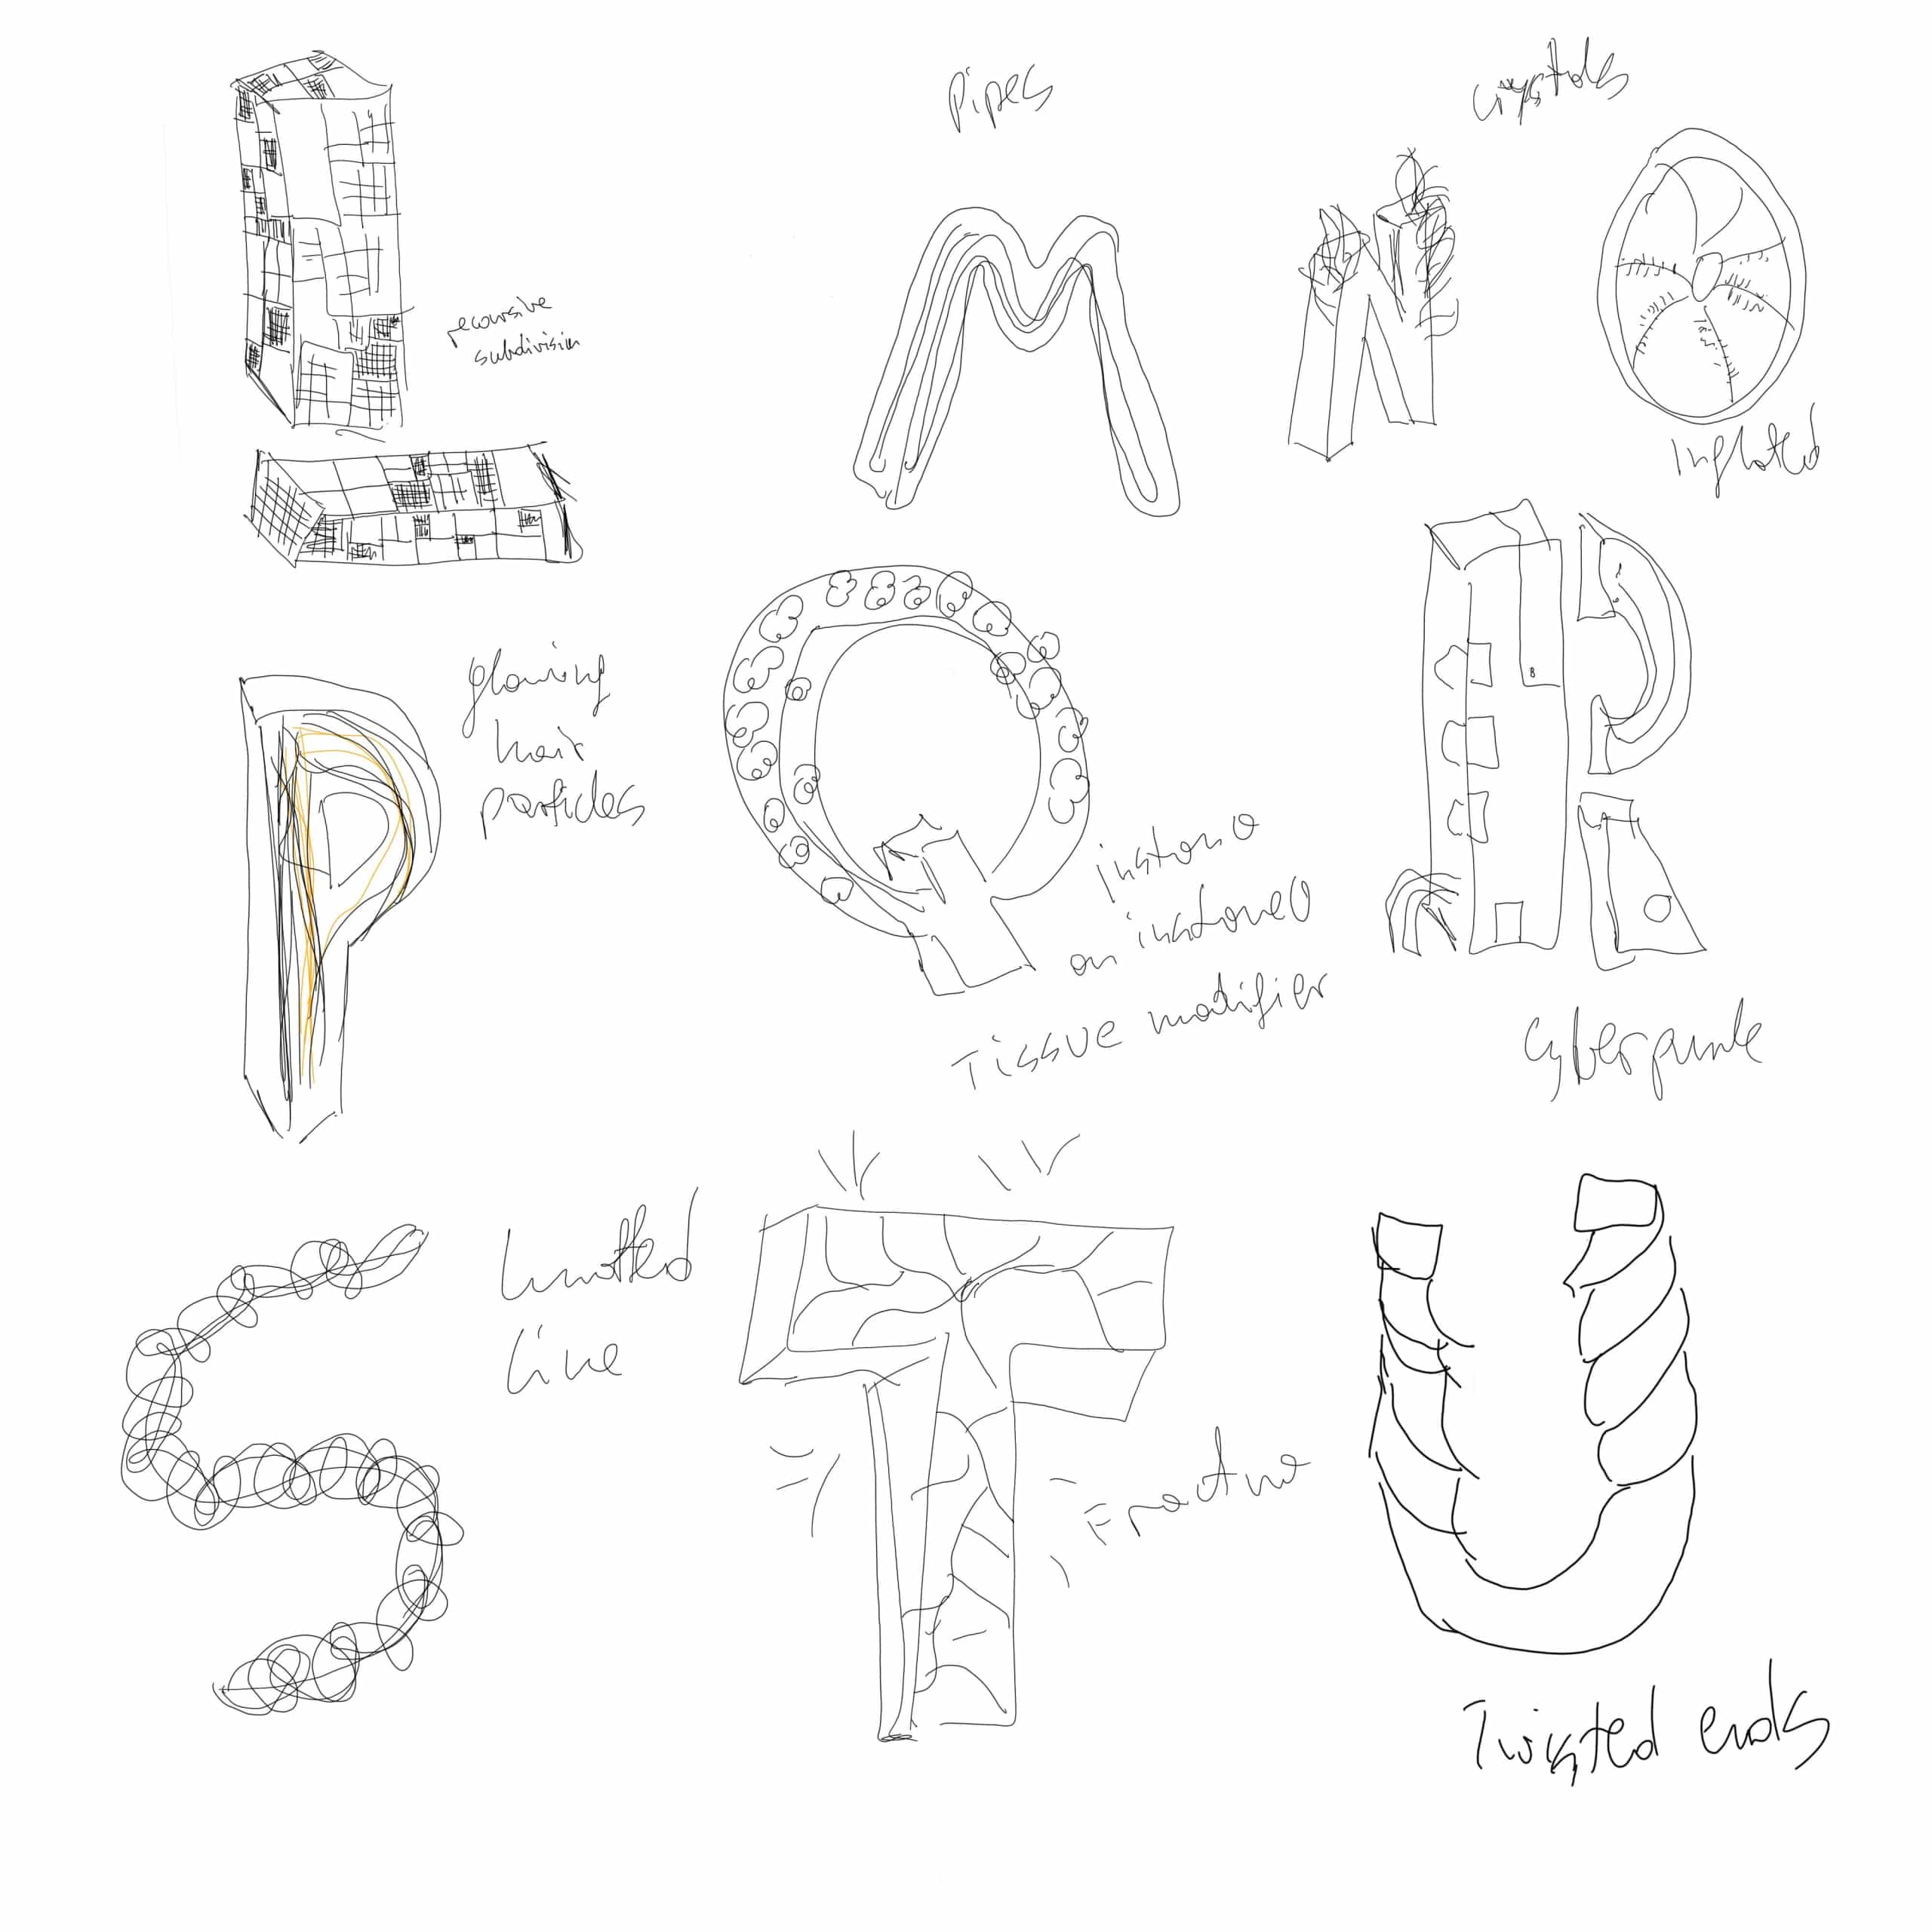
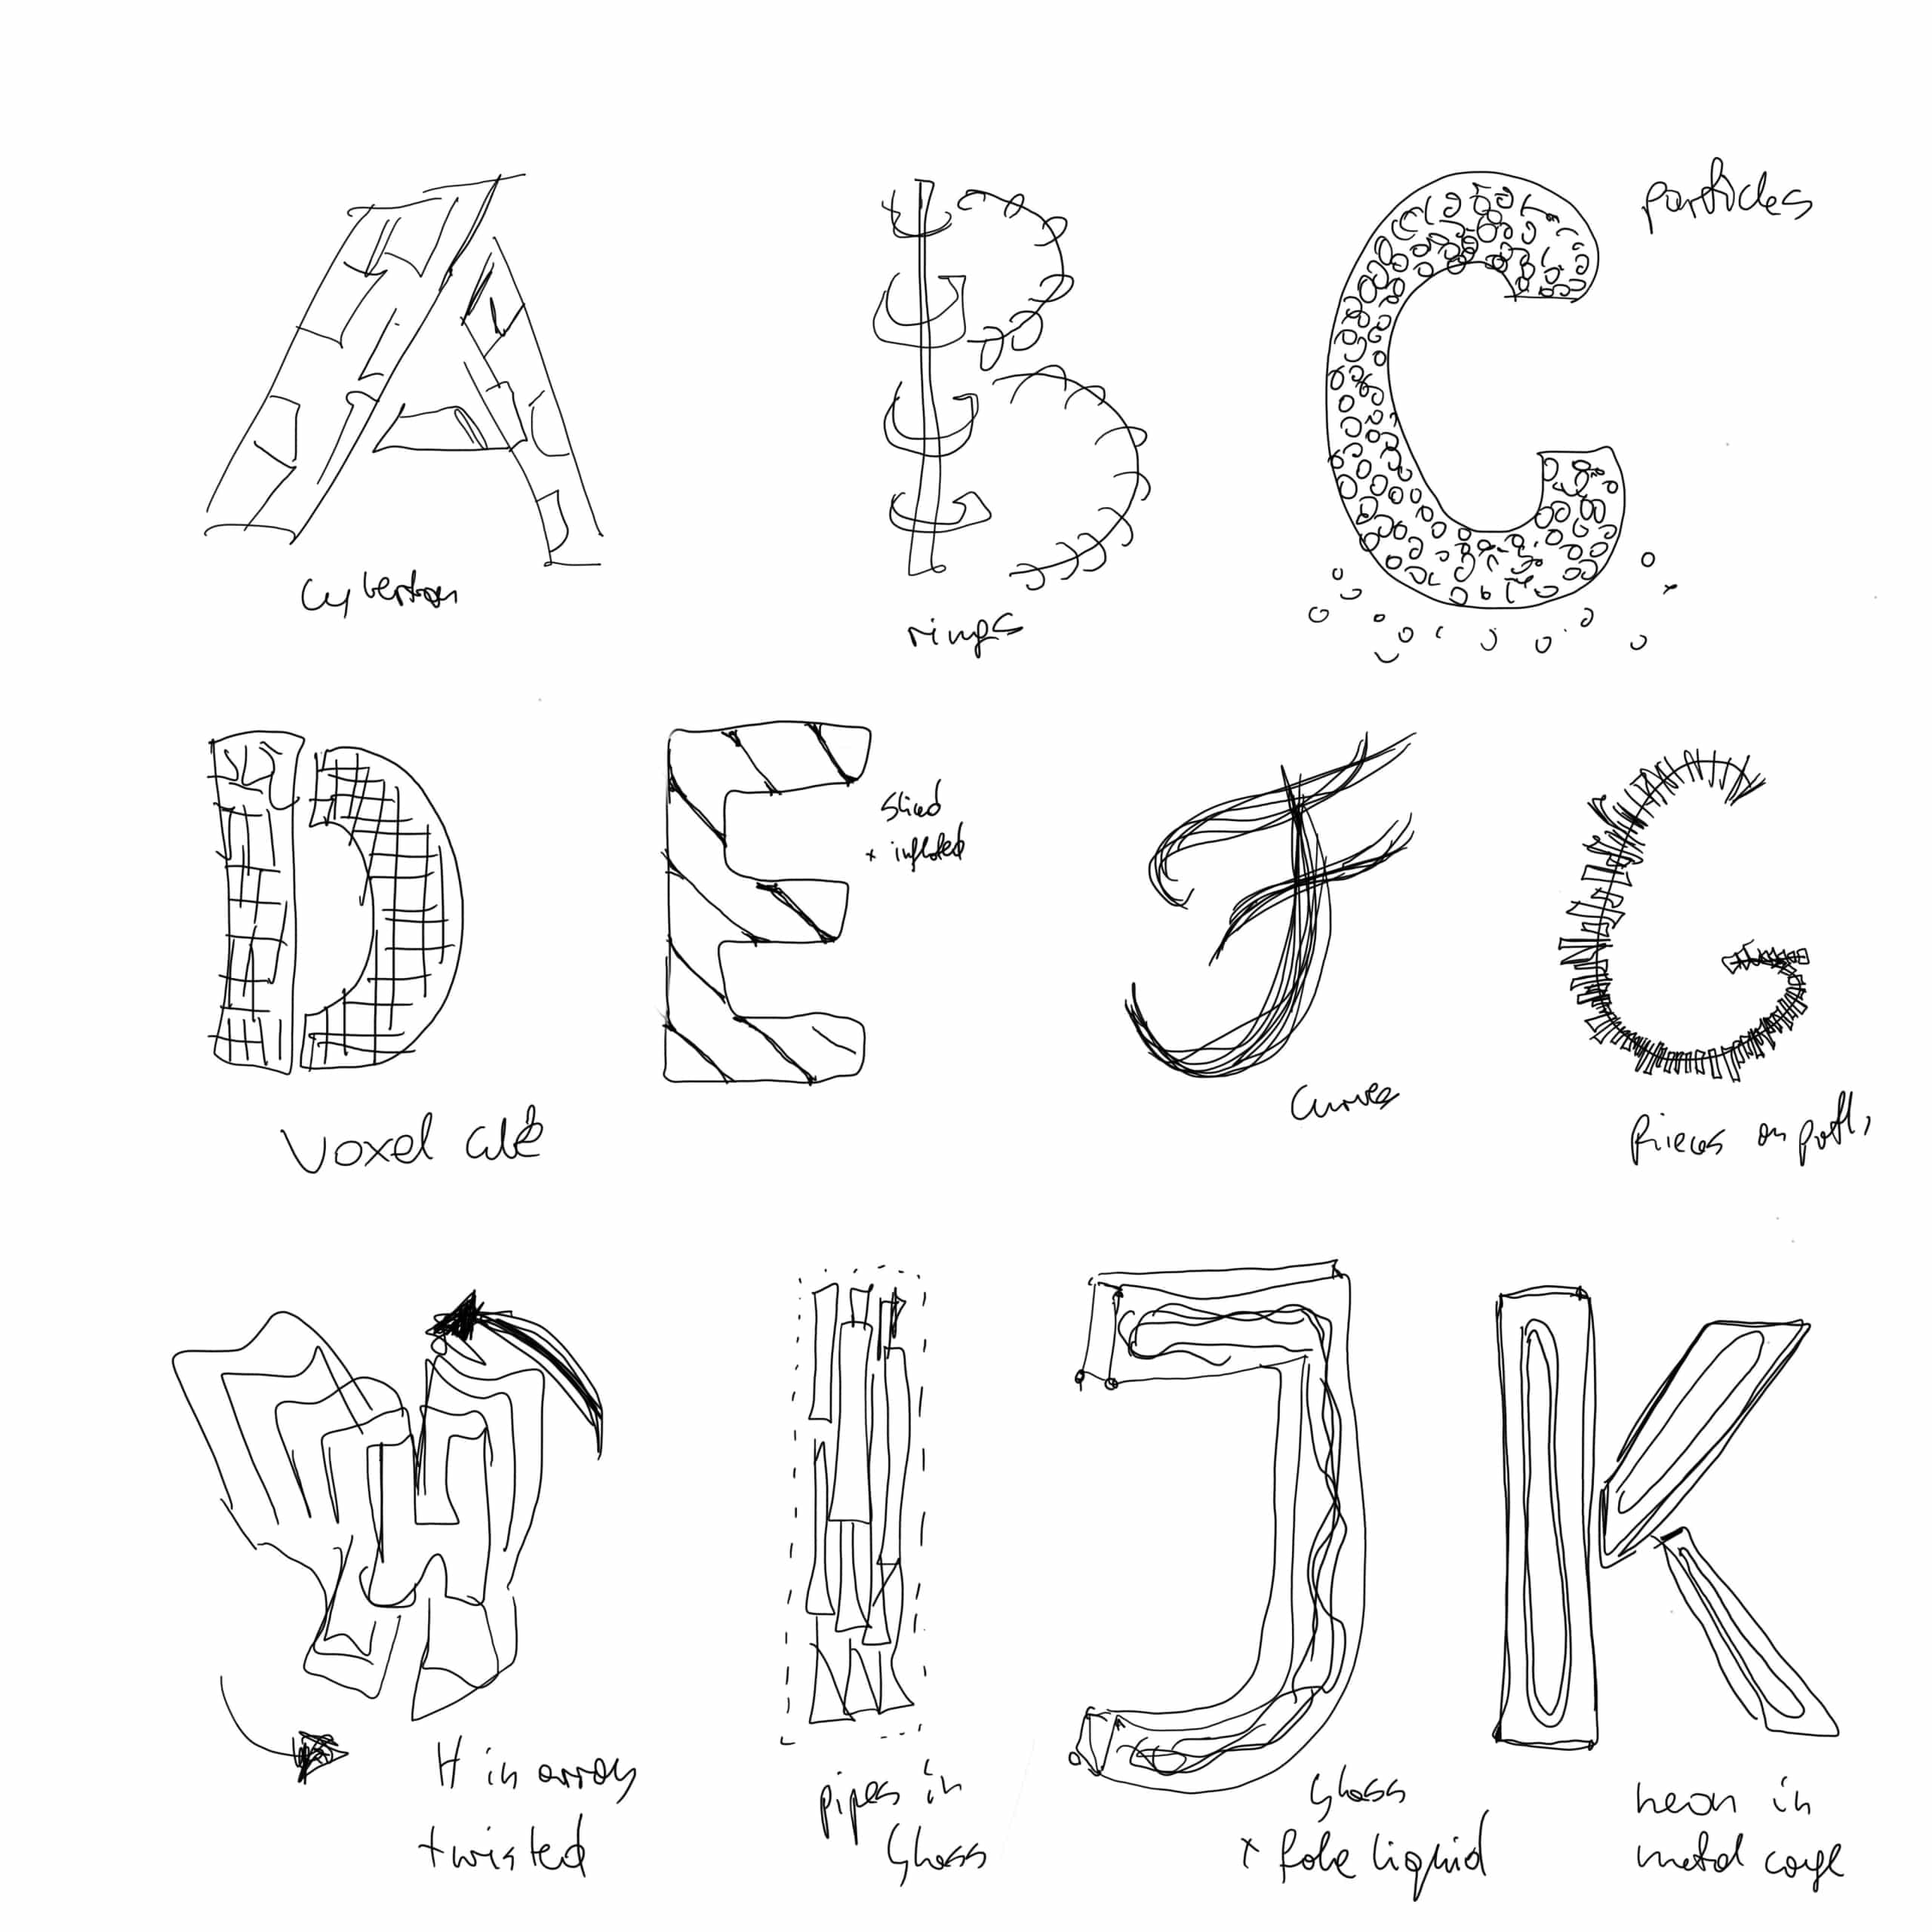

Inspiration Sketches
Limitations
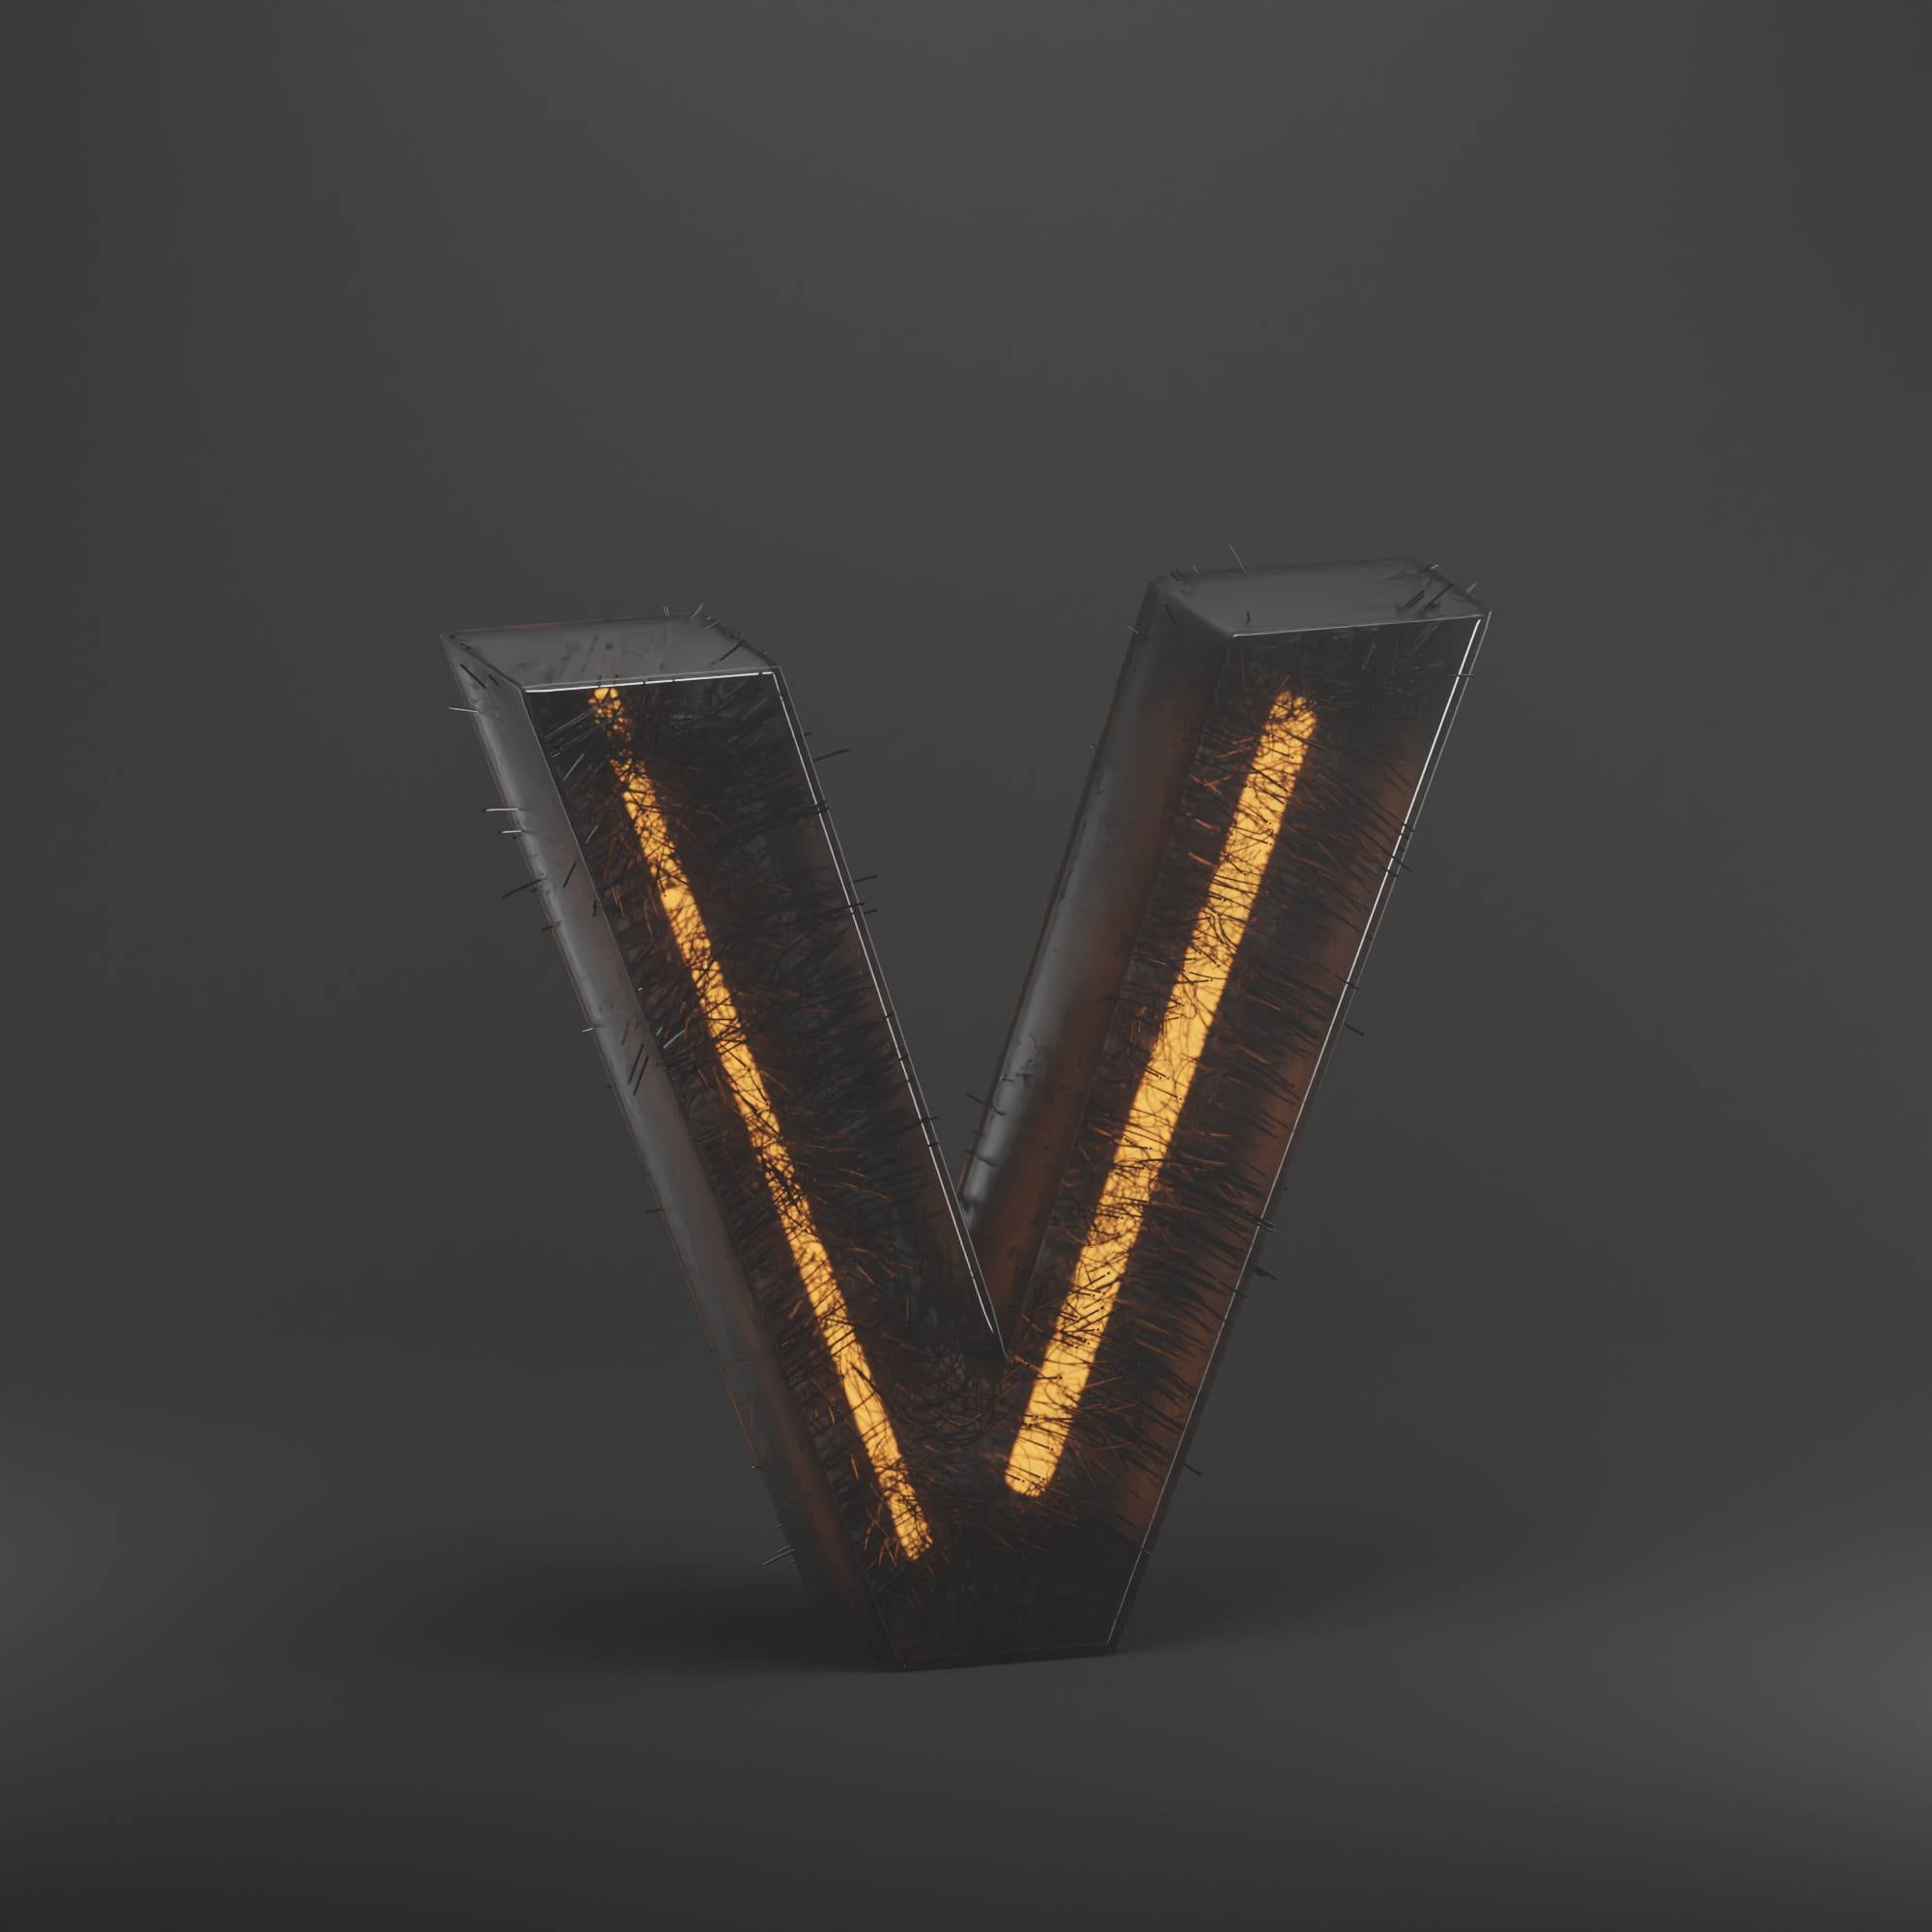

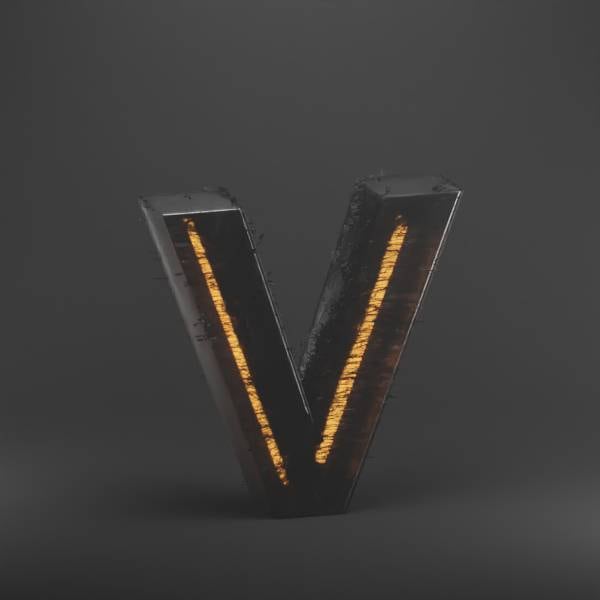

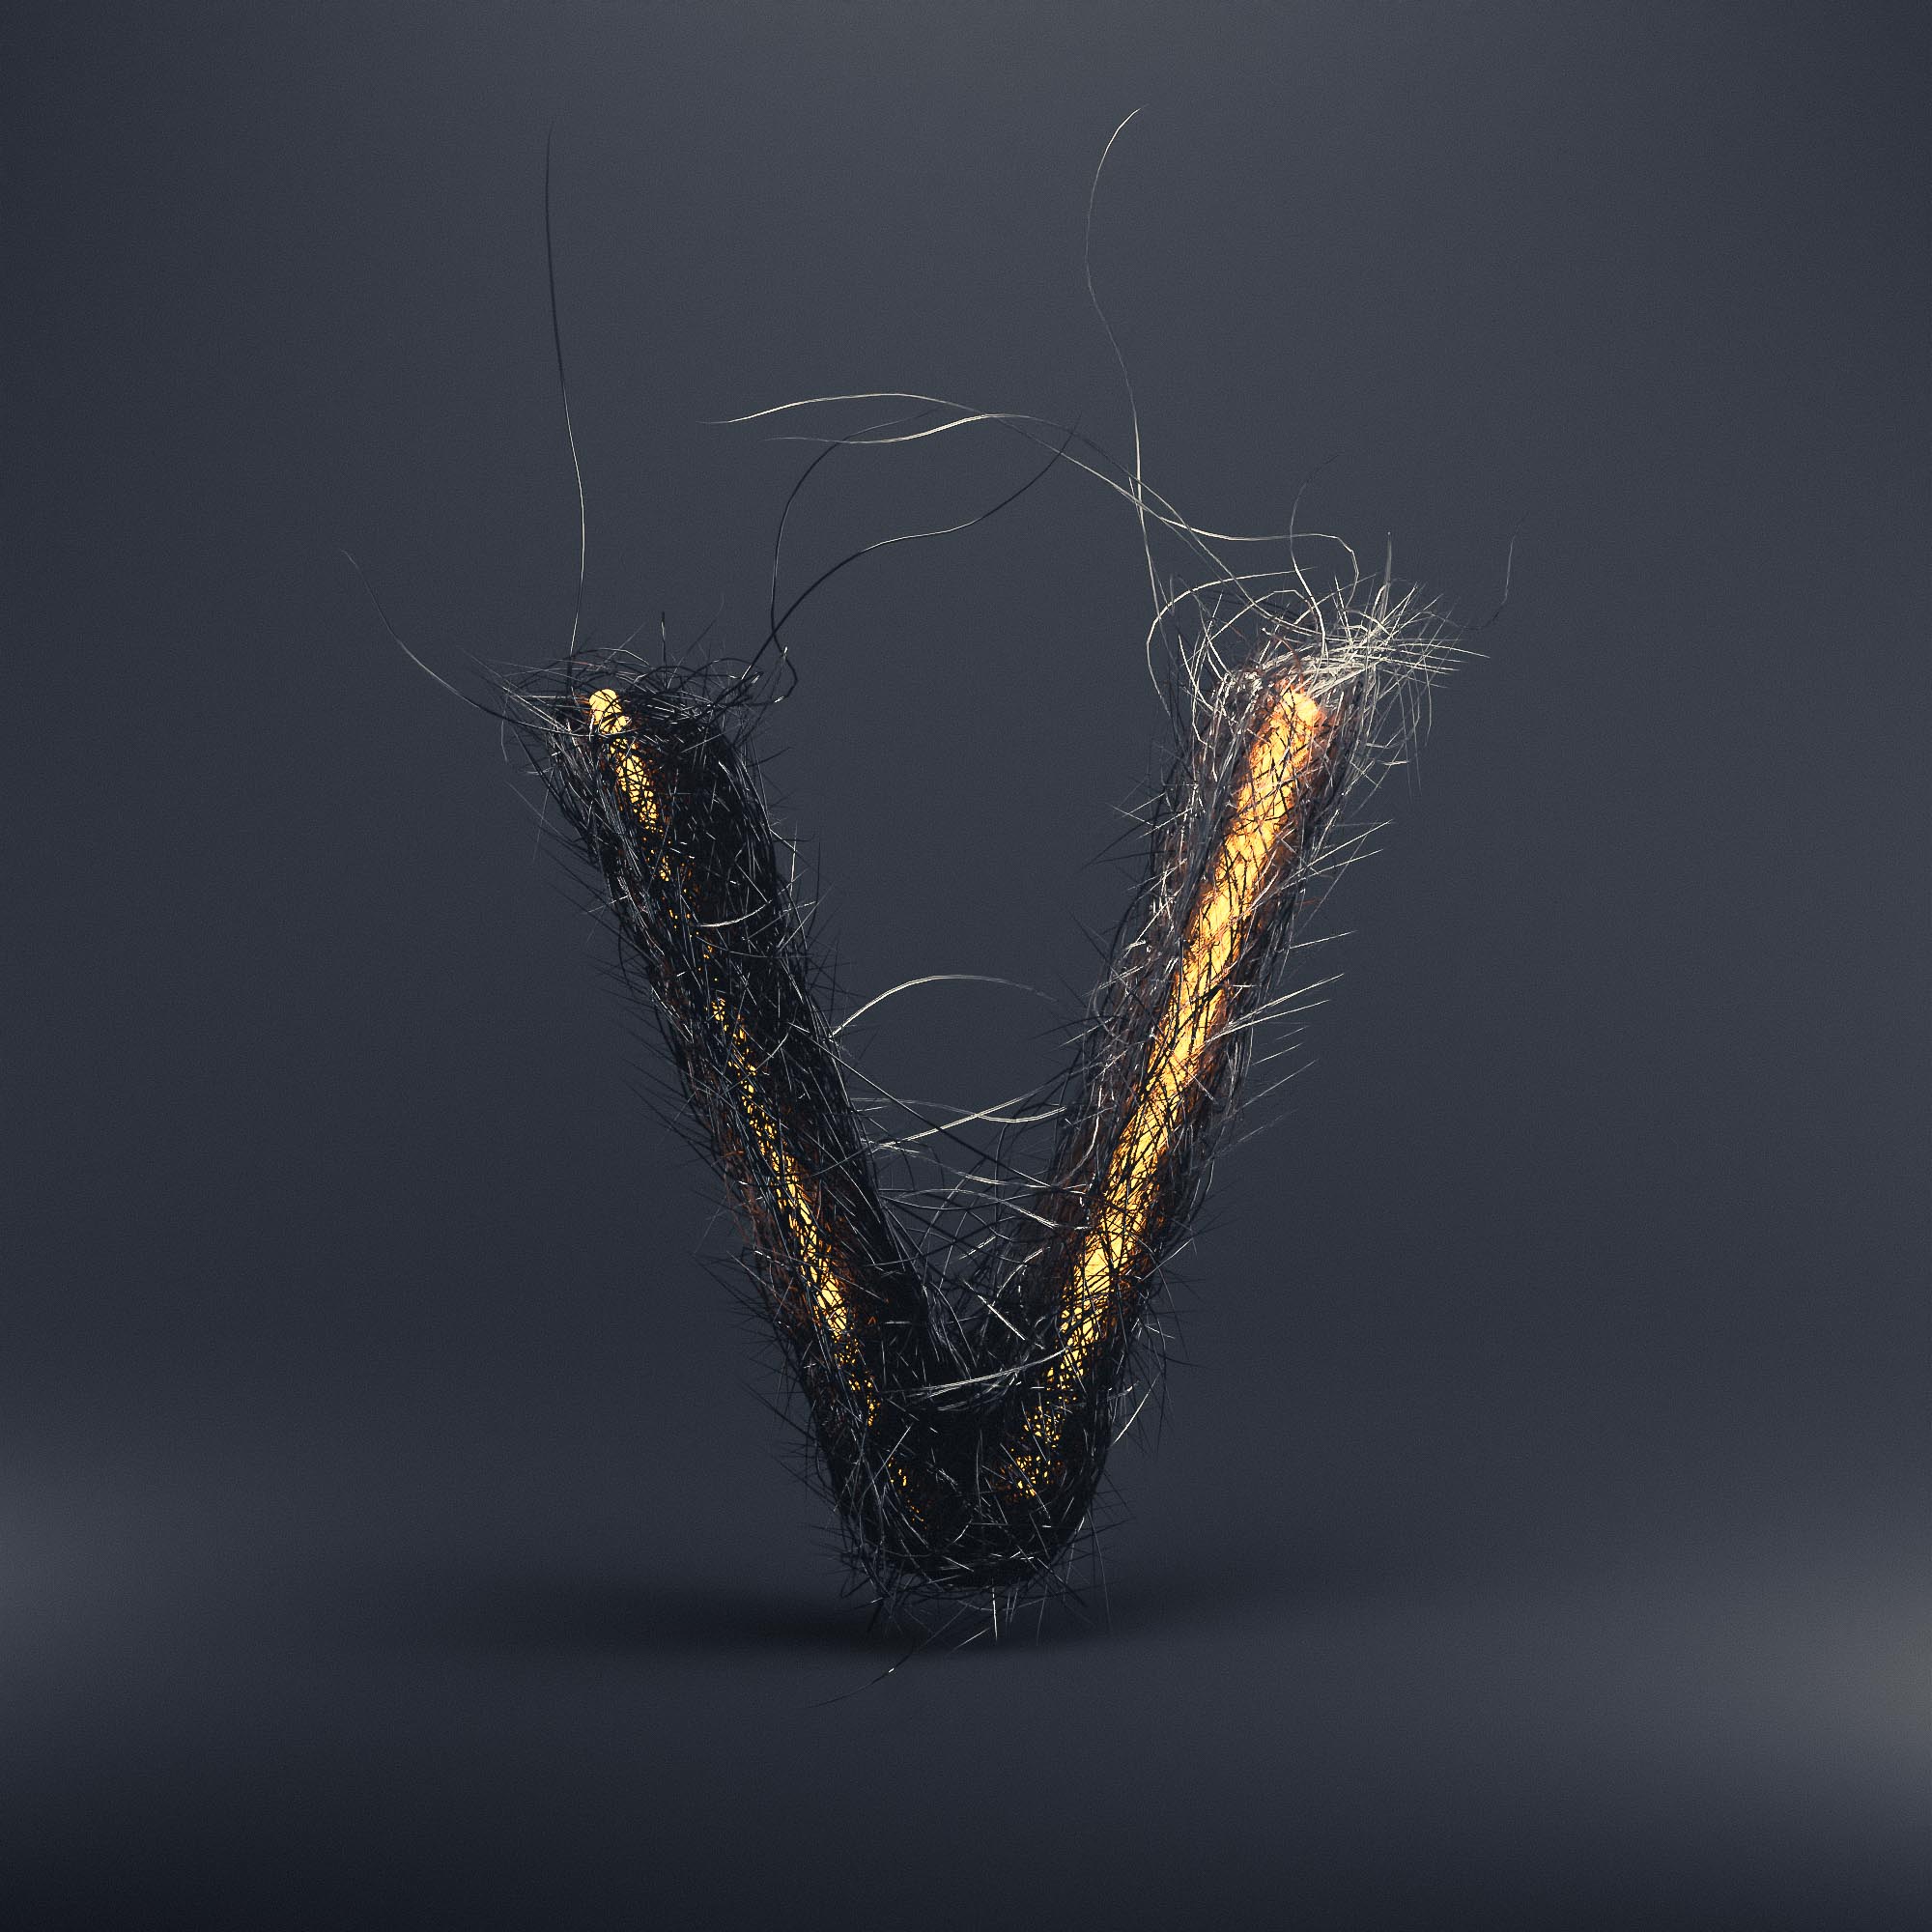
Different stages of V
I wanted to limit “variables” I would play with during the whole process. This is why, I have settled on limited colour palette – dark glass / orange glow / black metal and simple plain background. Different styles, techniques and methods were plenty enough for me to explore.
I started with “locking” the camera position, general resolution and render settings, lights and guide geometry and I started experimenting. Some letters were relatively easy to do, as I was familiar with Displacement modifiers from Mantissa’s tutorials. Others took quite a while to research, by watching various tutorials for specific bits of information or readying posts of Blender Stack Exchange.
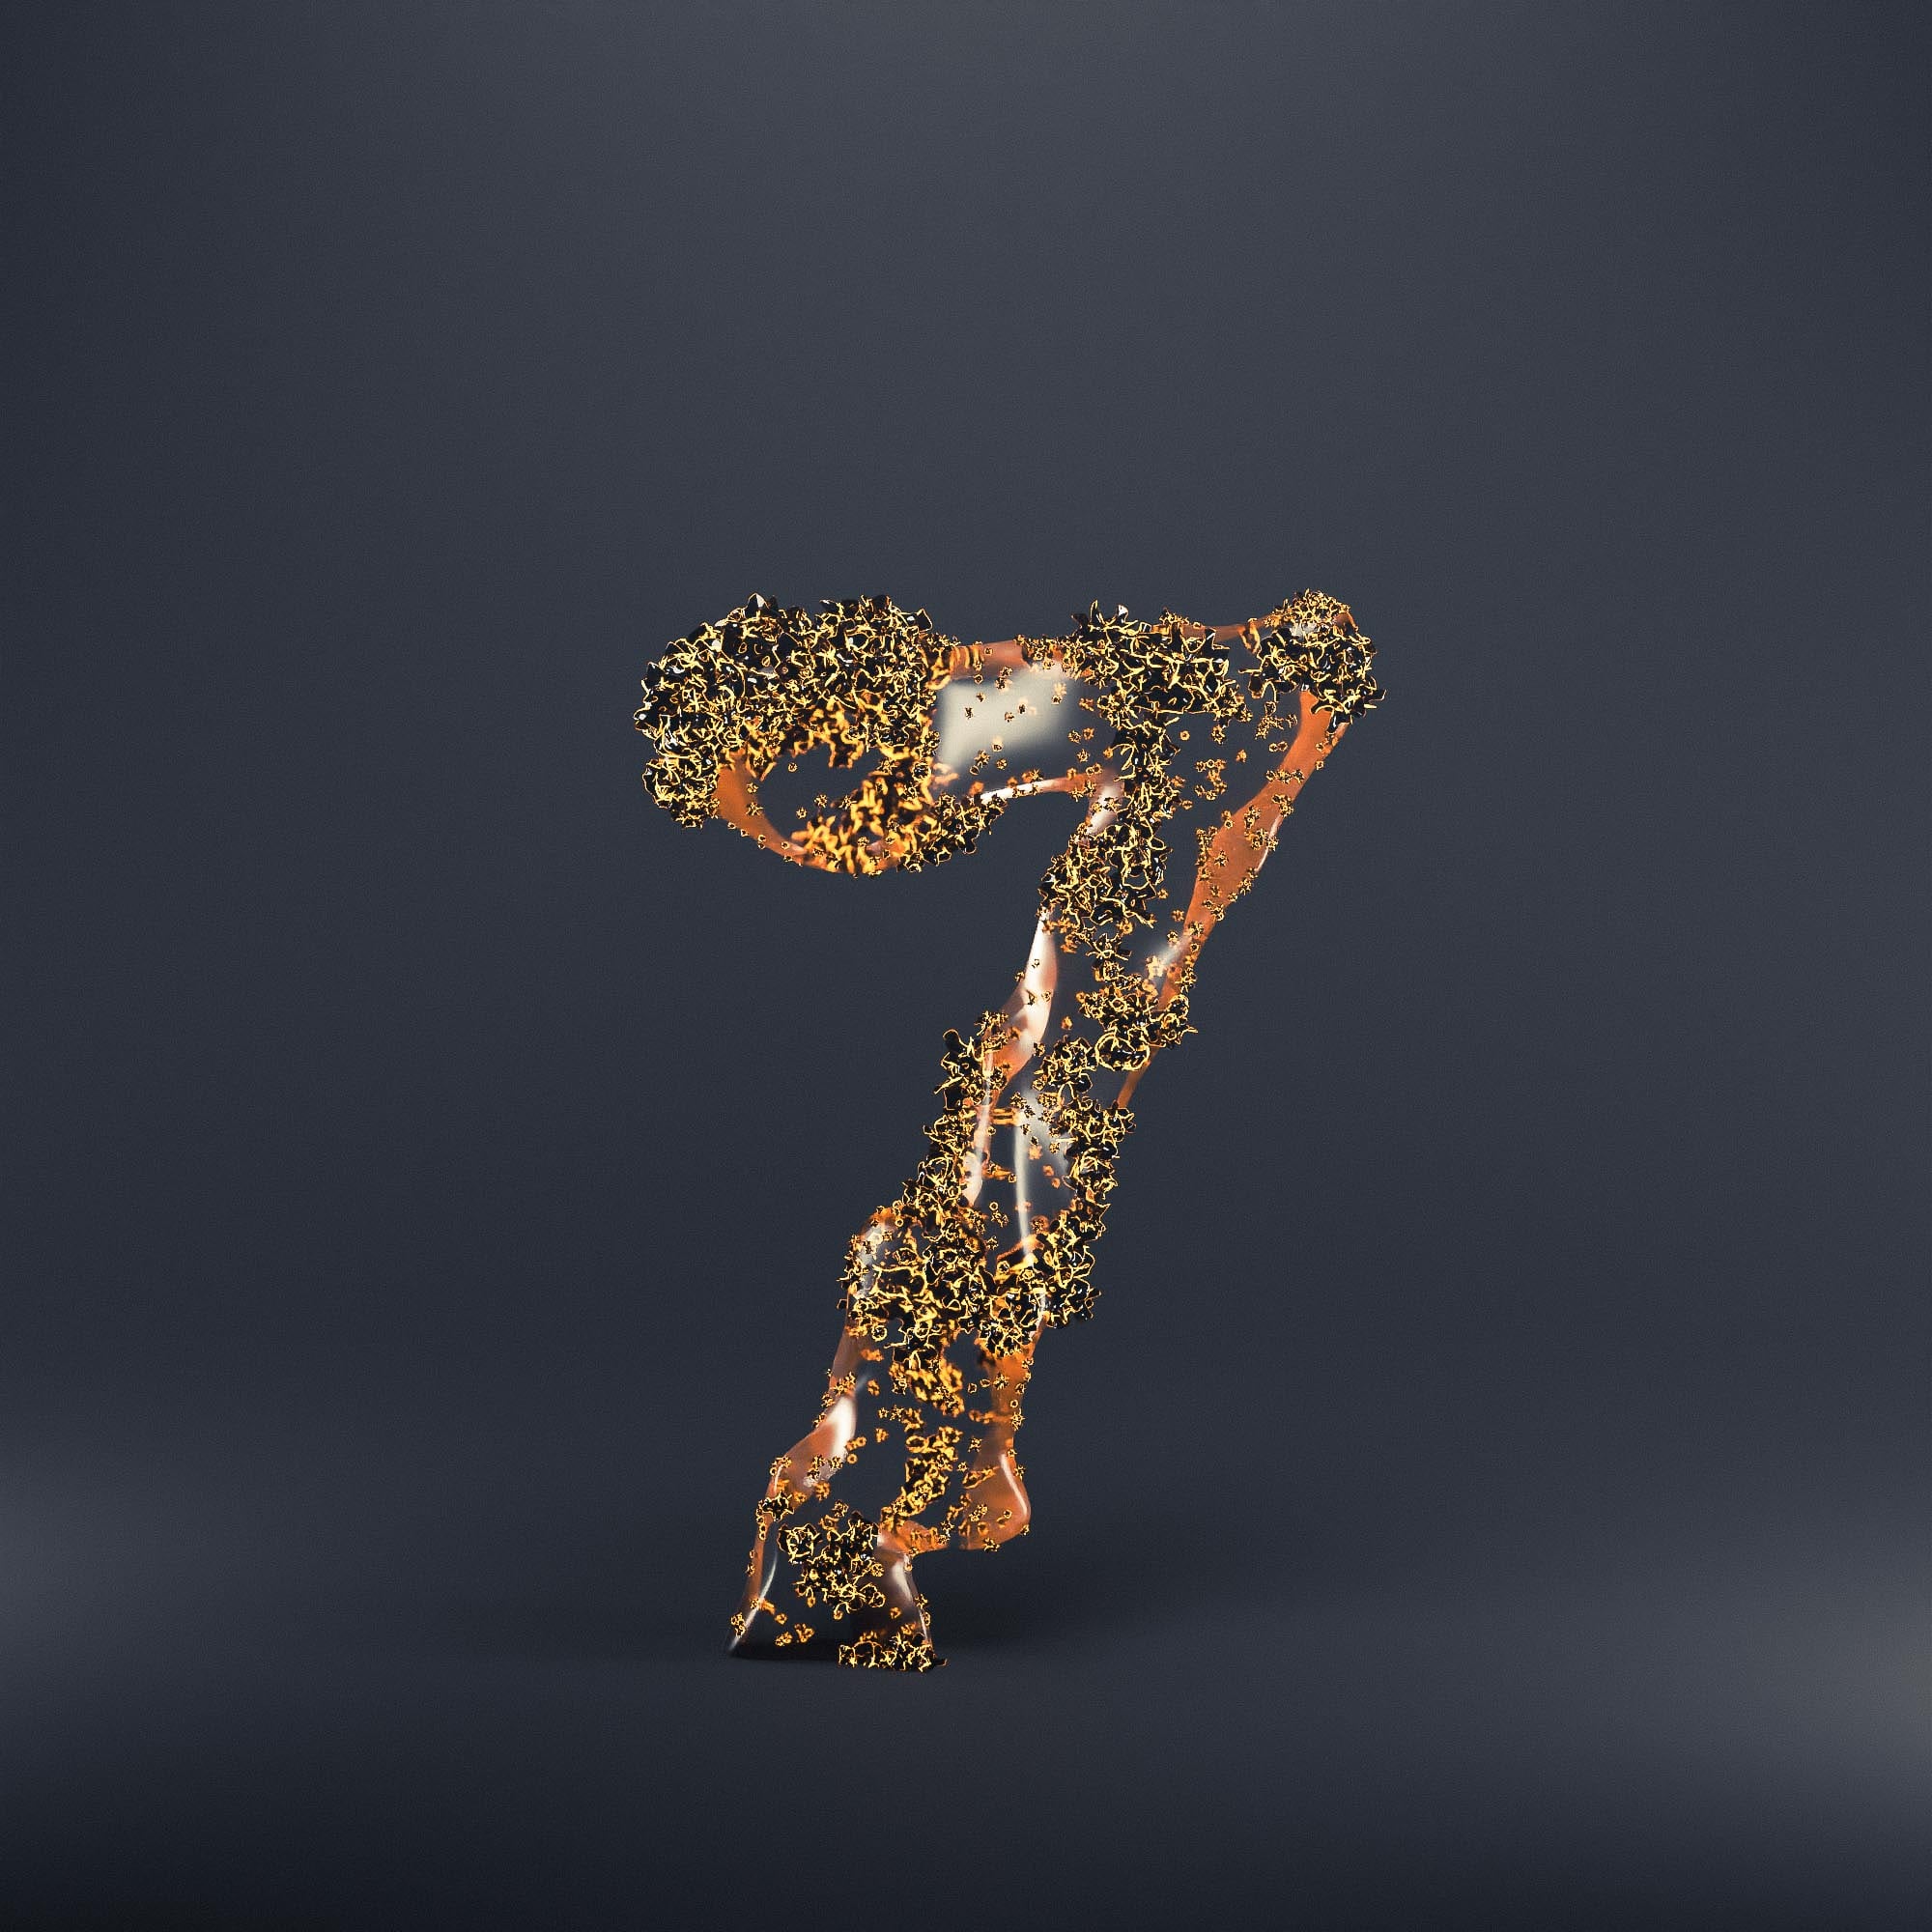
In few instances, I ended up working through different versions of a final design, before I was happy with final outcome. For example 7, 0, V, B and M, to name just a few. I even revisited certain letters, to improve initial render or to “copy and adapt” the set up on a different mesh completely.
Initial and Final Designs


Through experimentation, I ended up reworking few letters from scratch. In few instances, I didn’t have the right skill or approach in mind, when trying to design a particular design.
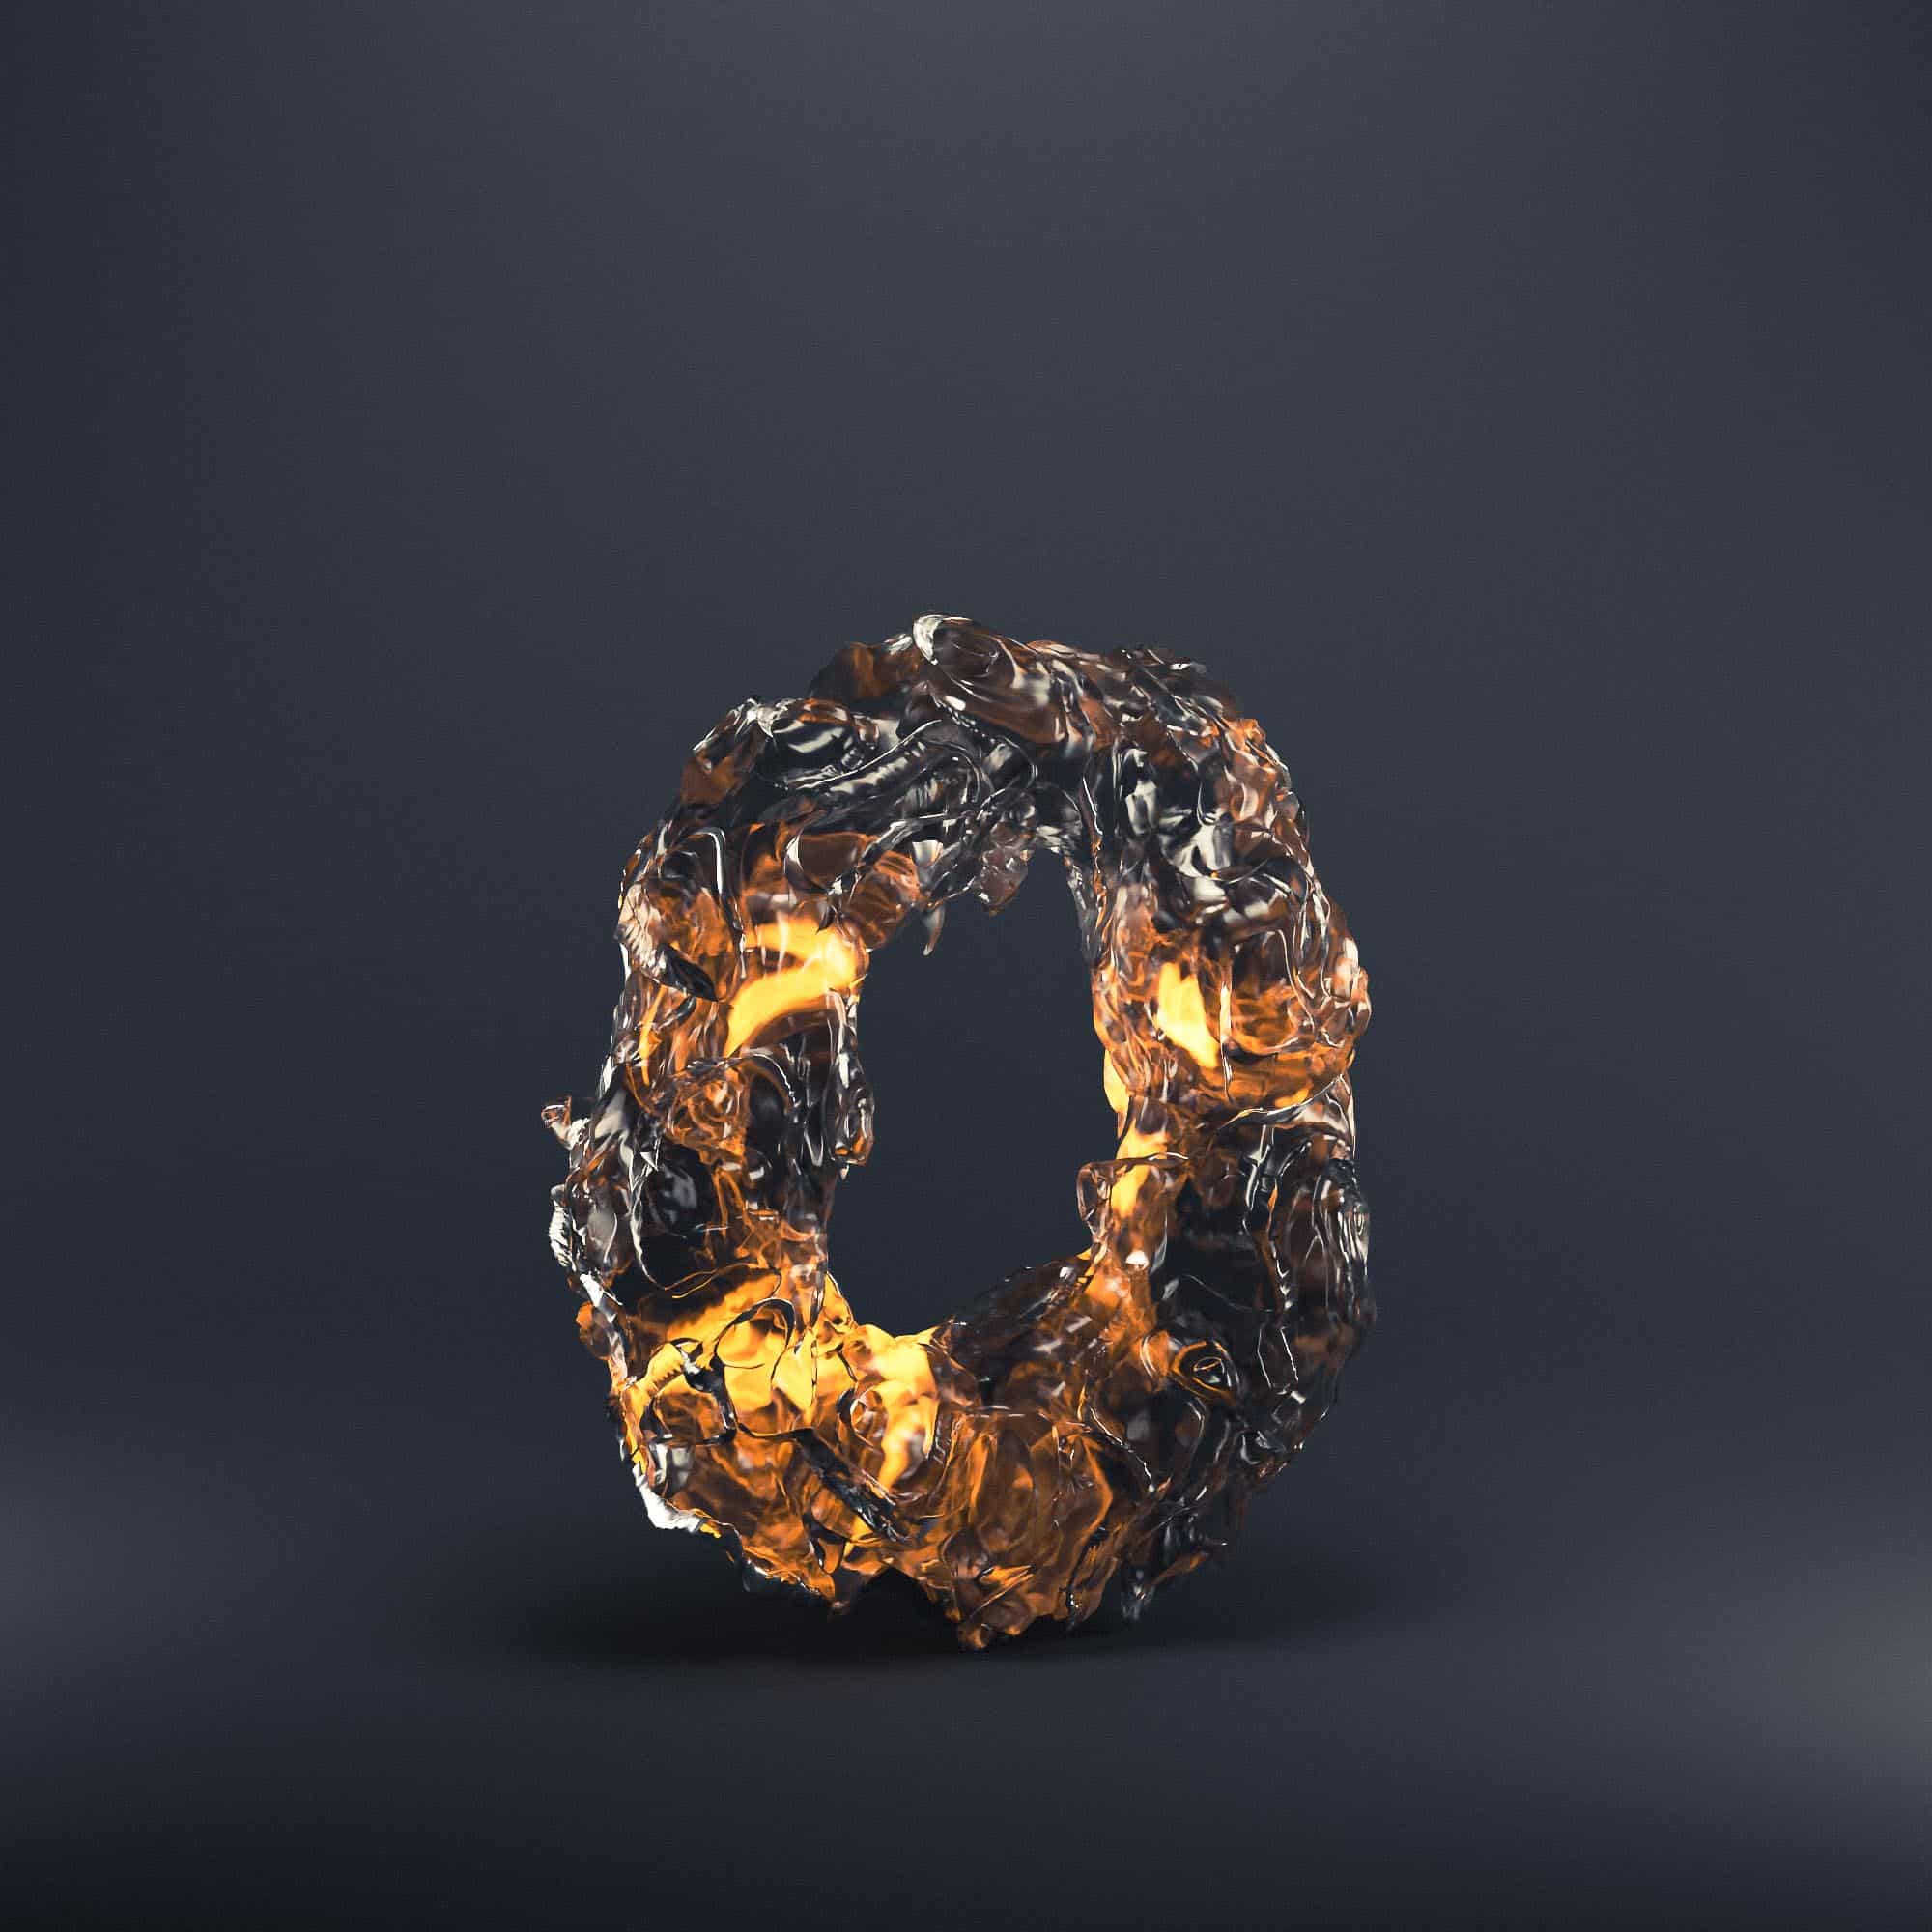
For example with 0 above. Initial idea was to have glowing smoke inside the glass mesh. But it did not work for me as much as I hoped it would. After taking a break for couple of days and working on other letters, I came back to initial smoke design and ended up doing a mixture of deformed glass, surrounding the smoke mesh. Combined with the lighting and inside glow, it added a lot of complexity to the final design.
Technique
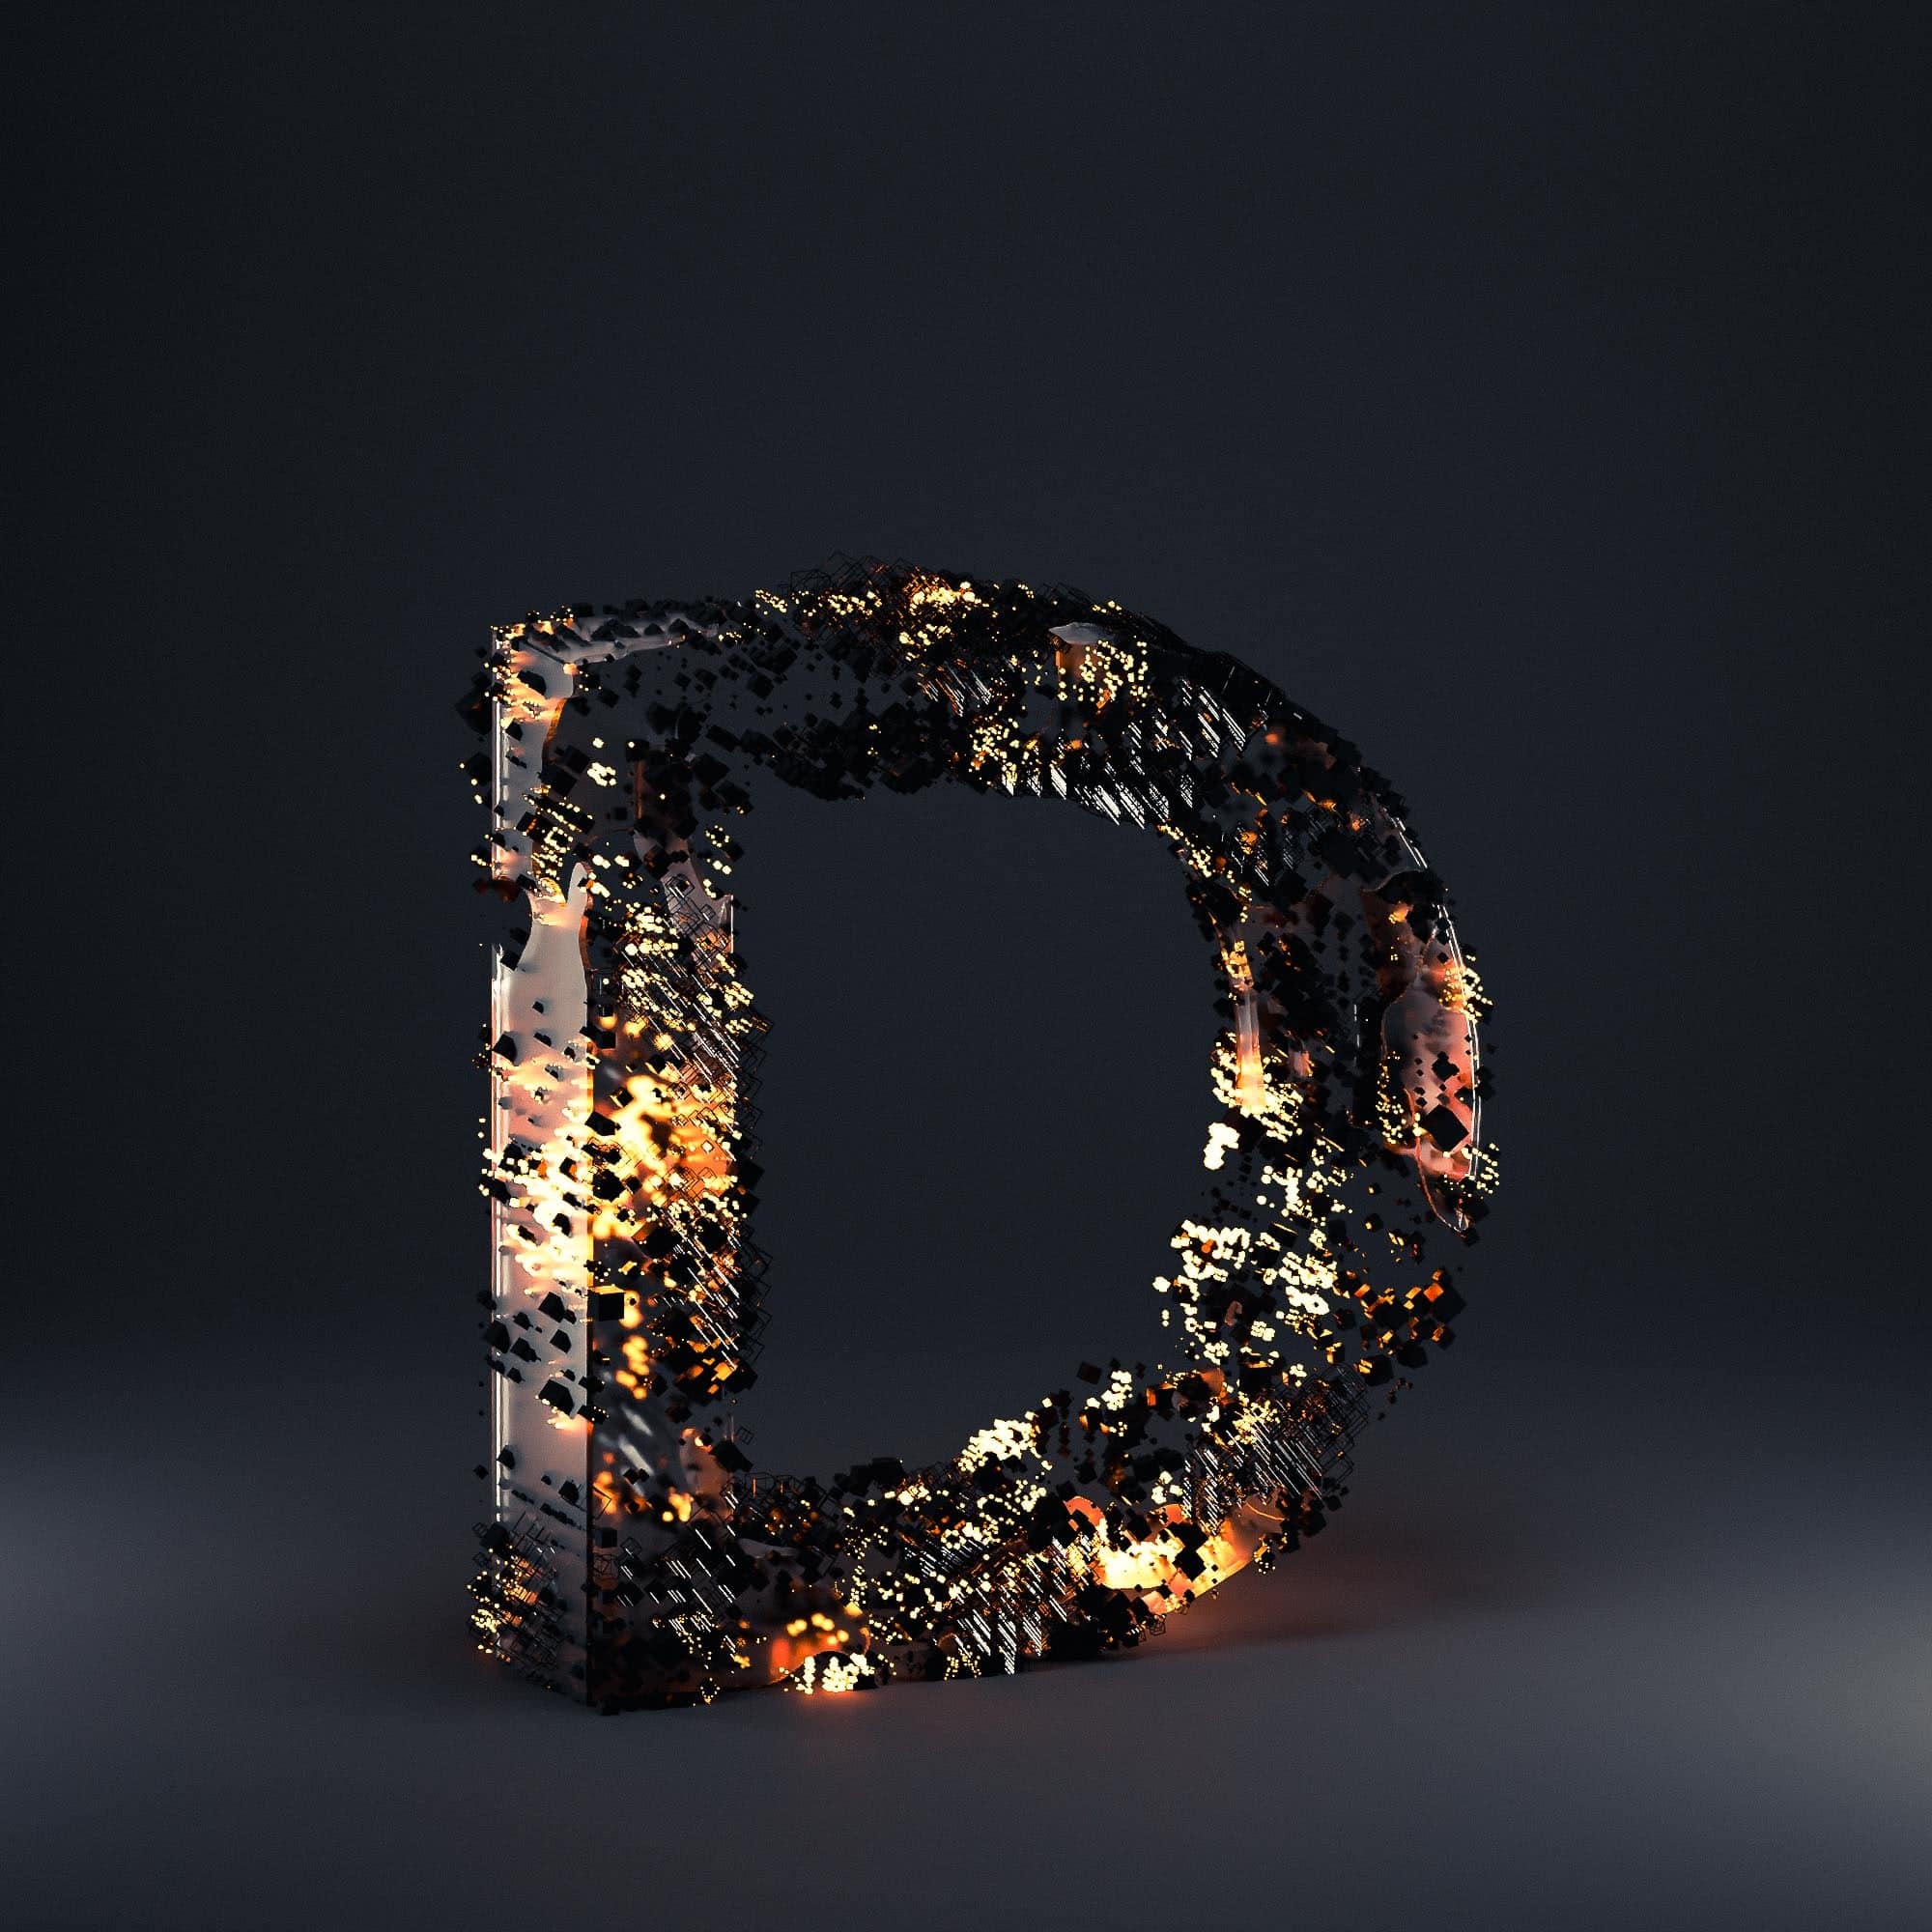
Overall, I have used a number of techniques – from completely procedural system built in Geometry Nodes, to using Particles as extra detail, cloth simulation, basic hard surface modeling, to simple displacements and mesh destruction.
I wanted to experiment with various approaches to achieve interesting and unpredictable results. This resulted in really complex textures, with plenty of details in each image.
As a final step, I have taken all the images into Lightroom CC, to further boost micro contrast, sharpening, colour saturation and overall tint and styling. This final polish made them more “punchy” and stylised, than I could have gotten in Blender.

Colour Treatment
Final Gallery
Here are all the final renders. Rendered in 2k by 2k pixels, with Cycles engine at 400 samples each. Some images took less than 10 mins to export, others more than 2hrs. Enjoy.


Other Projects