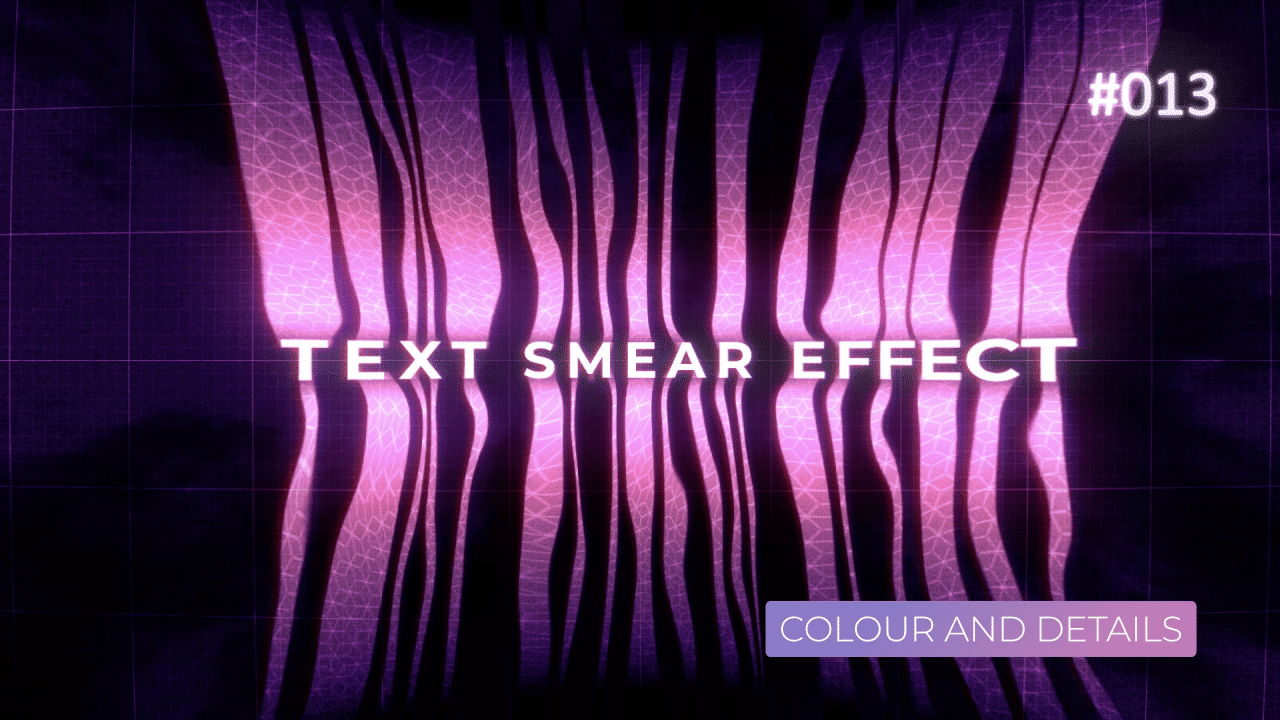
Tutorial 11: Text Smear Effect – Animation Set Up
This tutorial was inspired by plenty of work I have seen on Instagram over the last few weeks. Smear effect, stretch, liquify text – you name it. I really like what Nevan Doyle did with his type experiments. I decided to give it a go myself and created this tutorial entirely in After Effects.
This tutorial is part of 3 tutorial series. You can see the other 2 here:
Overall Set Up
I approached this project with the aim of making a robust template. Resizable, responsive text effect, entirely done in After Effects. That’s why I “built in” some constrains with expressions, to keep text in place, for example.
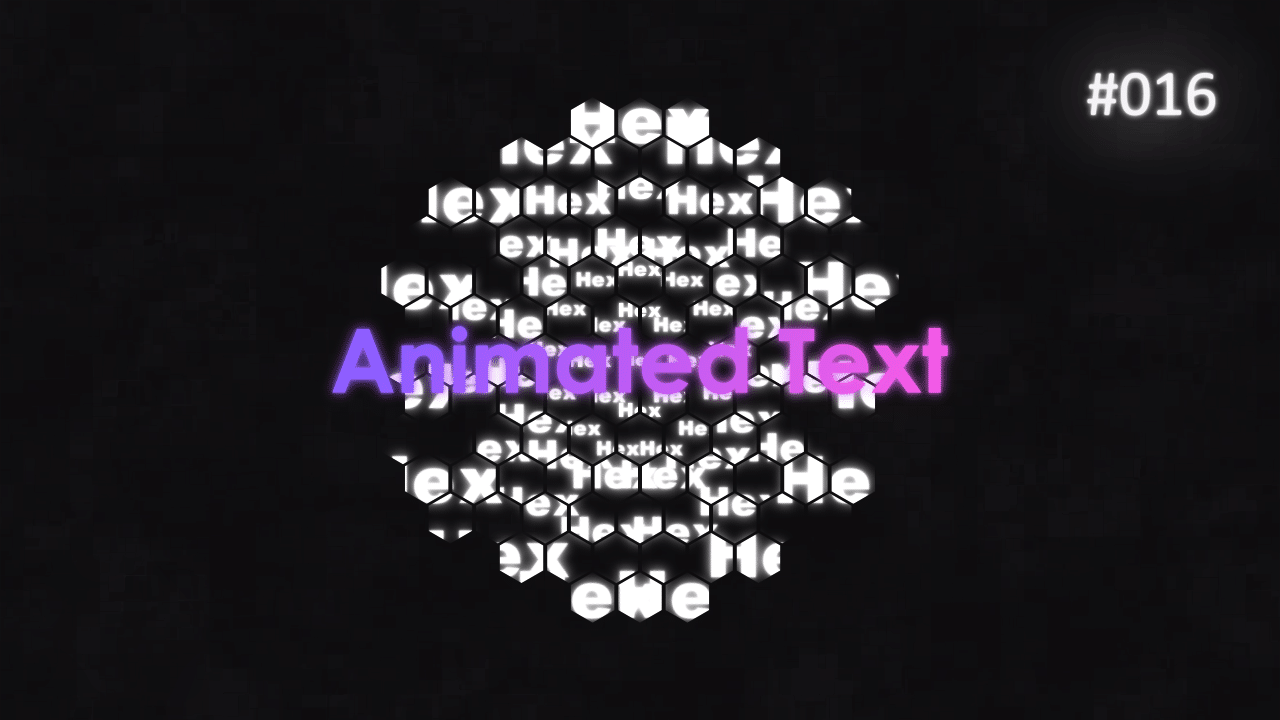
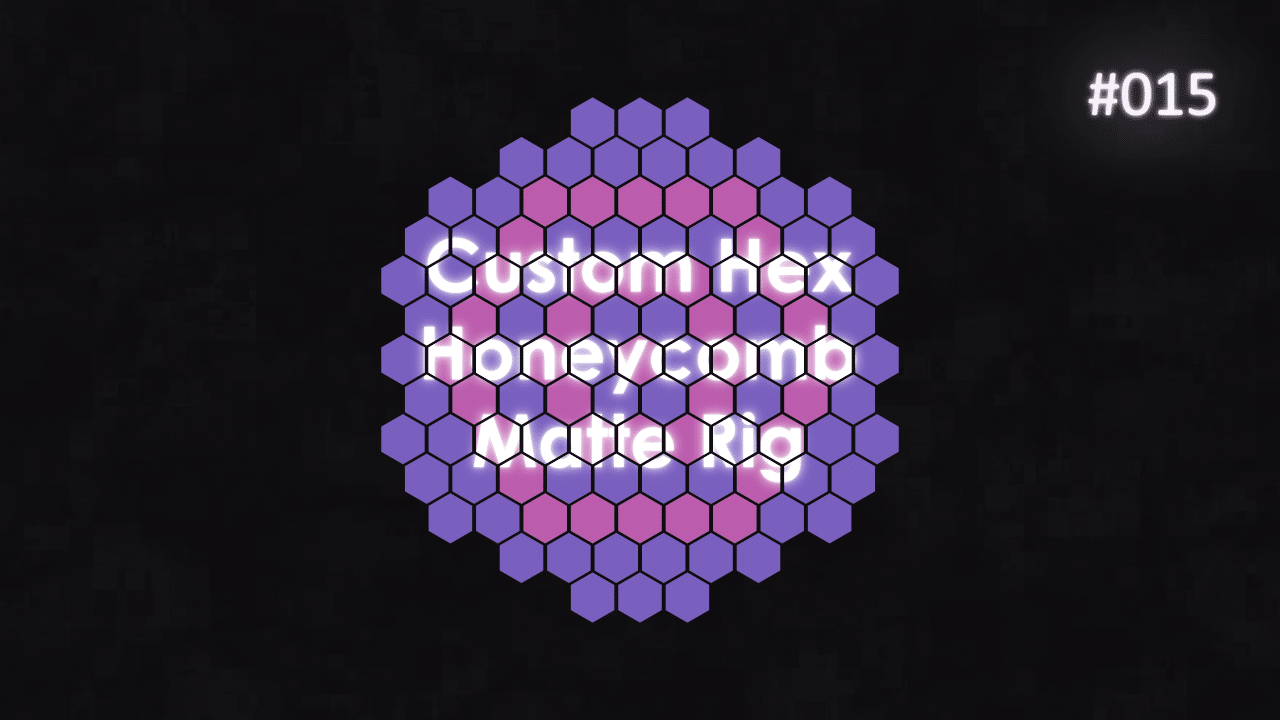
First tutorial deals with setting up text animation. Second does the whole “smear” and displacement set up with plenty expressions. It will be the most technical from the series. Last one, deals a lot with mattes and blending modes and how you can target certain parts of the image, based on colour and brightness values.
Anchor Point – Center
Pretty “standard” expression to keep Anchor Point in the center. The only difference is +2 after .inPoint part. I added this, to “push” Anchor Point “erratic” position, past the start of the layer.
Let me explain.
Because this text layer has Text Animators added to it, and Anchor Point expression calculates values every single frame, this results in Anchor Point moving all over the place to compensate. To fix this, I simply added +2 to time value. This way, we “push” the problem before start time.
This way, Anchor Point will stay in center, no matter what the animation is doing. You can adjust it further by adding smaller or bigger value in seconds.
Position with Sin Loop
This position expression is actually made up of 2 expressions. First part, w and h, find center of the composition, no matter how big the composition is.
Second part, x, creates a sinwave. By combining it with Math.PI, which is Pi formula, we get perfect sinwave generated with time. With few variables, amplitude, frequency and time, we can speed this sinwave or slow it down. You can make it move more or less.
Sinwave simply works by going from 0 to 1, then back to 0 and 0 to – 1. By using variables for parameters, you can keyframe them, if linked to a slider or manually edit them. You can play with the values, that you can make this motion loop within your composition duration.
Final step is to combine both expressions in a simple array to get final position, that is animated over time, without any keyframes.
This project file contains all the assets necessary to make animation in the tutorial in final form. Everything is labeled, linked, with expressions and ready to use, if you wish to make your own version or just play around with it.
If you have any suggestions for tutorials or how I can improve, please do get in touch. I would love to hear from you.