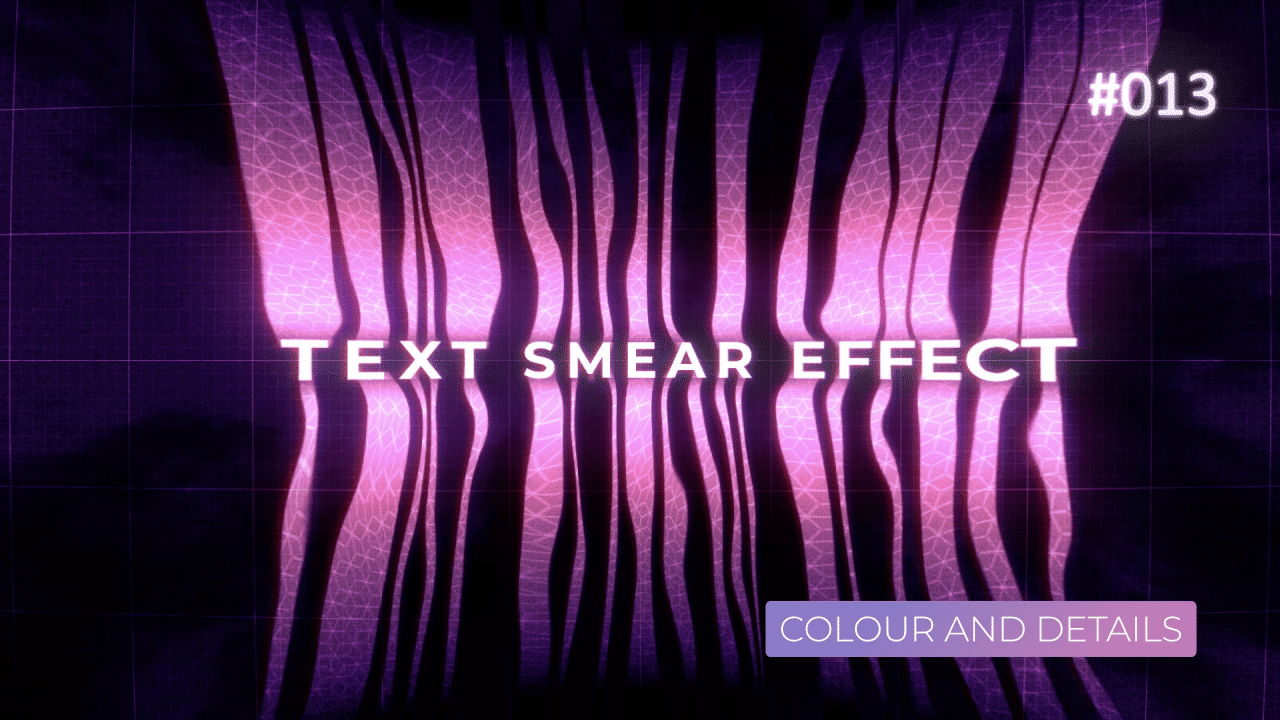
Tutorial 12: Text Smear Effect – Displacement and Smear Set Up
This tutorial is part of 3 tutorial series. You can see the other 2 here:
This part of the tutorial series, will be the most technical with lots of expressions. They are important, if you want to make sure everything is responsive to more or less text, automatically adjust itself (displacement) and just works.
I have used most of the expressions in this tutorial, already in previous tutorials in similar shape and form. They are pretty simple Math expressions – add, subtract or multiply expressions. They should be easy to follow. Also, overall set up reuses same expressions for “bottom” side of the displacement. So, it means that you will have to set up them once, then copy-paste. Then change + to – in final calculations.
Let’s get started.
CC Scale Wipe – Top
CC Scale Wipe – Bottom
CC Scale Wipe is backbone of the whole effect. It stretches the layer in a way we tell it to. To make the effect stronger, simply duplicate the layer once.
This expression positions Center property (the one that controls, where the stretch happens), just below top/bottom portion of the Text layer. Since source composition is “locked” in the center, whole effect starts from the center. We are using sourceRectAtTime expression to get value to streatch, even if the text is moving / animating.
As you can see, expressions are identical, just the final calculation is different – one positions Center at the top, other at the bottom.
Gradient Ramp Top – Start
Gradient Ramp Top – End
Gradient Ramp Bottom – Start
Gradient Ramp Bottom – End
Here are 4 expressions, used by 2 Gradient Ramps effect – one on “top” layer and one on “bottom” layer. Basic set up is to have gradient end slightly above the layer (or below) and just before the edge of the composition.
You have to do it in this way, so the brightest point is off the text and darkest point is below the end of the smear. Later on, in 3rd tutorial, we will use those brightness values to colour and add mattes and other effects, based on the brightness of the overall layer.
Shape Layer Size – Displace Text Mask
Pretty simple expression, which you add to a shape layer Size property. I’m using this layer as a matte or mask for the Displacement effect. Otherwise, the effect would end abruptly and it would look weird without it. The Box Blur on this layer, helps to “fade” the matte.
Fractal Noise – Random Seed
If you are going to use this effect as a preset in a sequence, it is always nice to have slight variation in the final effect. Sometimes it is not 100% noticeable, but it often looks good, if it is there.
To add variation easily, I’m using this simple expression to “grab” Source Text. By adding .lenght to final variable, we get a number, which can be used as a Random Seed to add variation to Fractal Noise automatically.
Order of effects
You have to pay attention how you stack all the effects on top of each other. Different stacking order will create different results. For example, on Text Stretch PreComp, I’m using:
- CC Scale Wipe x2
- Displacement Map x2
- Gradient Ramp
- Set Matte to “mask” everything
All of the above are interconnected and they reference other layers, for example Sett Matte. By setting this project in this way, we can avoid having multiple unnecessary layers, such as separate mattes for each layer.
This project file contains all the assets necessary to make animation in the tutorial in final form. Everything is labeled, linked, with expressions and ready to use, if you wish to make your own version or just play around with it.
If you have any suggestions for tutorials or how I can improve, please do get in touch. I would love to hear from you.