Tutorial 06: FUI Interface – Displacement and Color
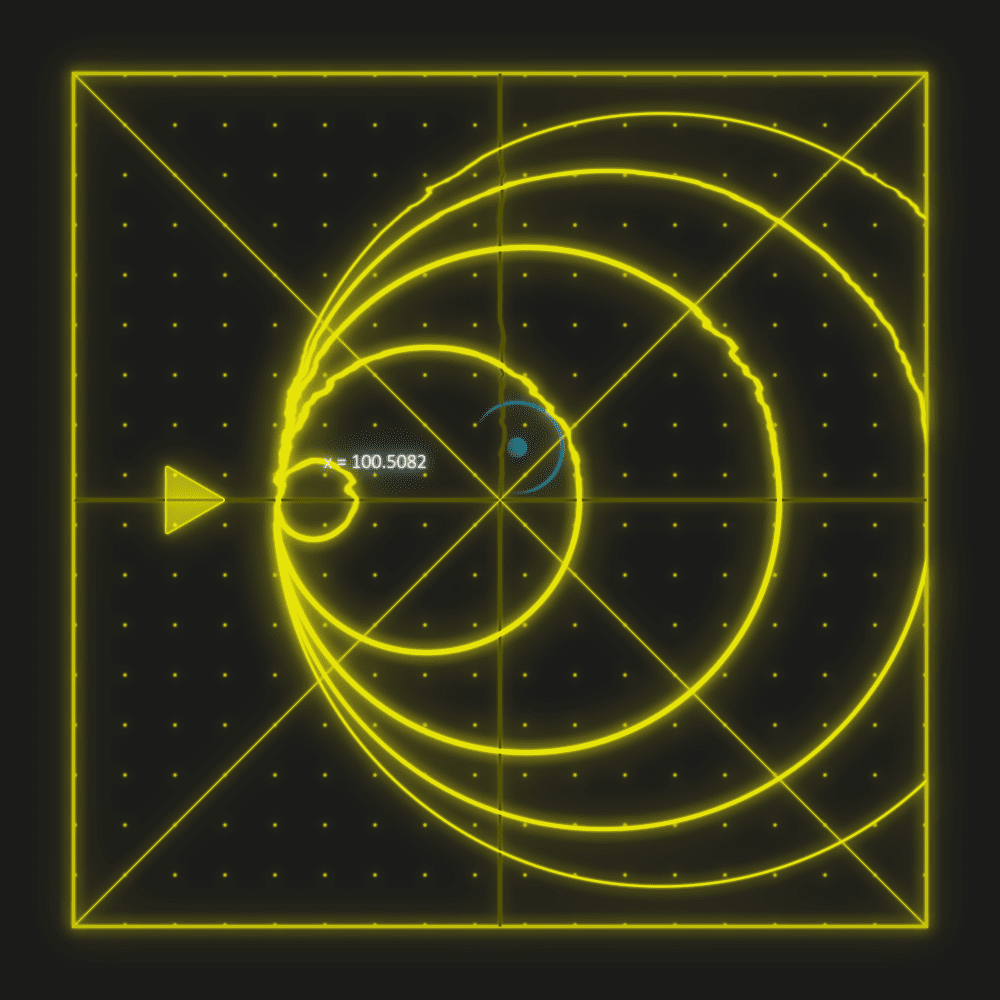
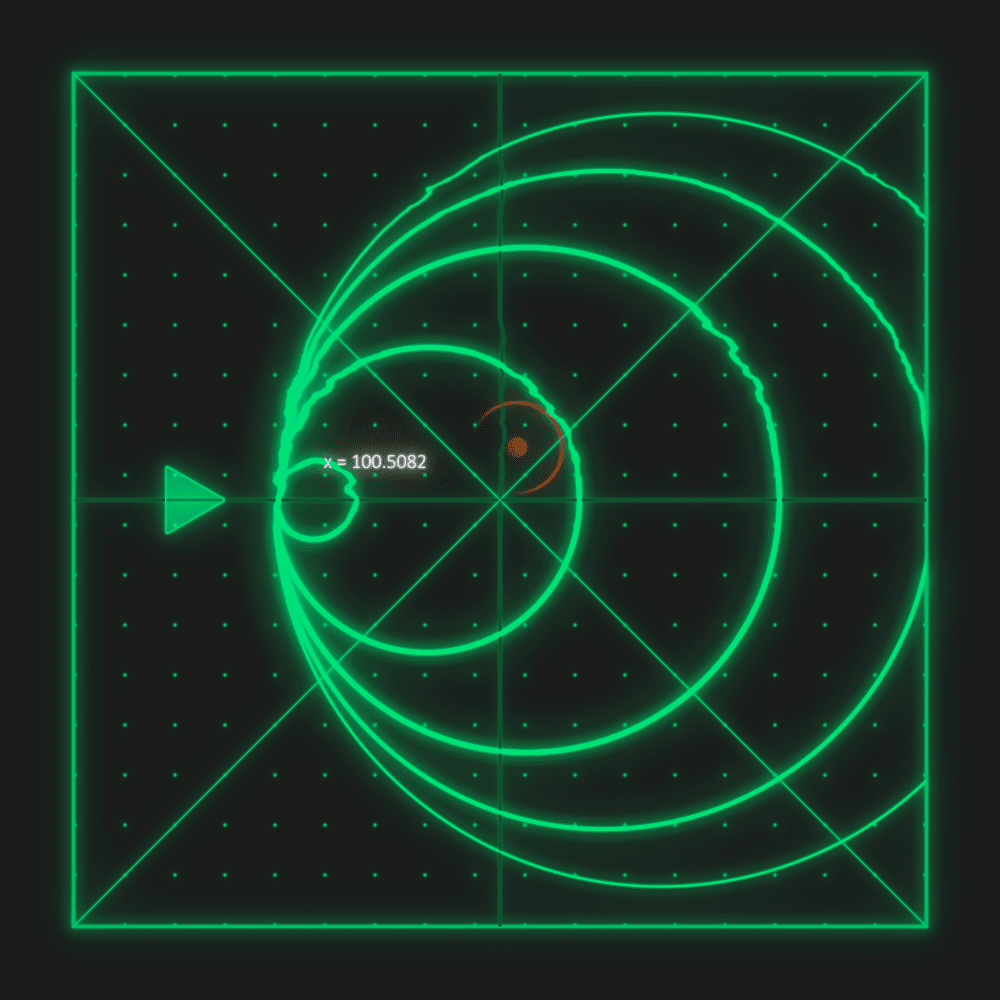
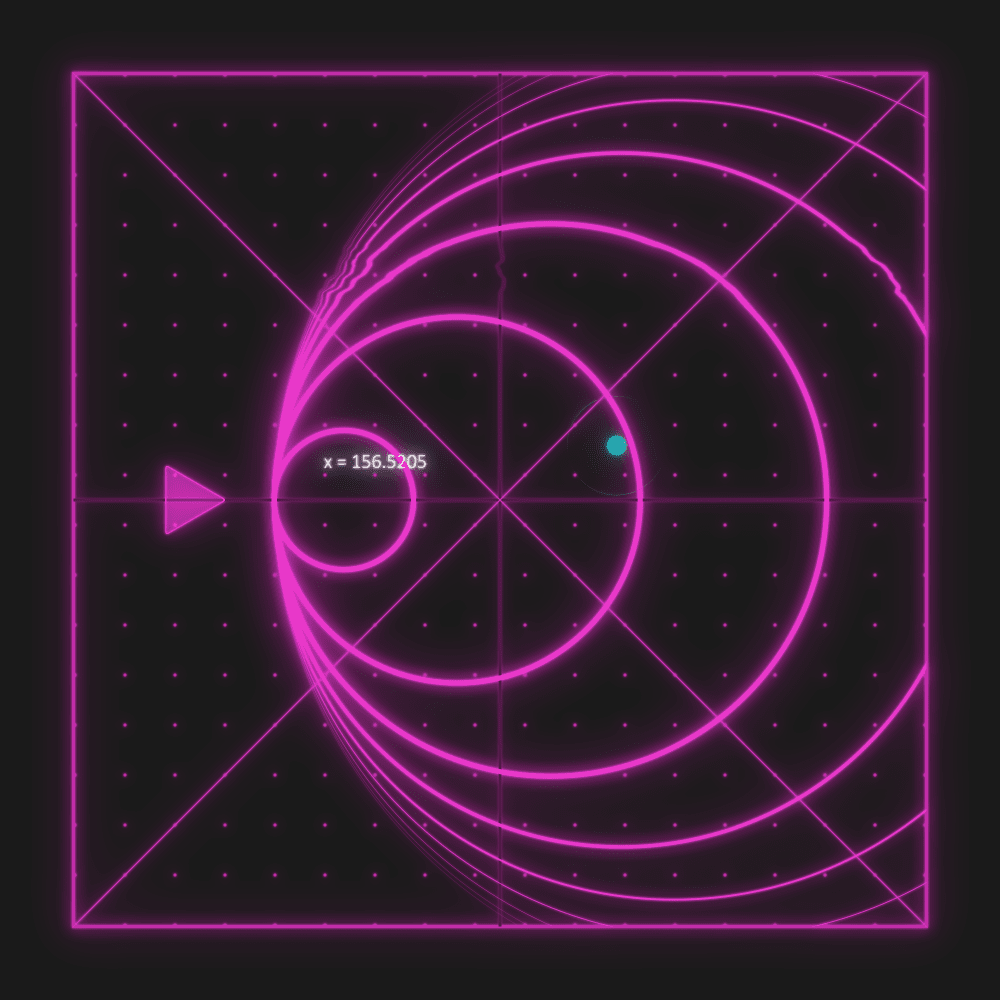
The idea to make this design, came up to me, when I saw this post on Instagram by Motion Graphics Collective. Design was made by Florentzunino. I liked the dots and vintage look to it, and repetitive “pulses”.
This tutorial is actually split into 6 parts, otherwise it would have been way too long. For other tutorials, please see the following links:
Special credit goes to Joe from Workbench, for sharing his awesome glows set up in After Effects. Go visit his site, as he has tons of awesome tutorials.
Overall Set Up
This is last tutorial in this series. We have everything set up now and it is time to add final details like Displacement, Glow and add colour controls as well. All with sliders and expressions and few effects.
Colour – Lightness Control
This code is being added to all the elements, you want to control in a group. For example, Radar, Spaceship could be one colour, border and crosses another, swarm different and dots one more colour. Or you could use just 2 colours – 1 for “bad guys” and 1 for radar elements.
First, you want to define your Colour Control effect and slider, which we will use to control lightness of the main colour. Then you have to convert RGB to HSL. This way, we have access to Hue, Saturation, Lightness and Opacity.
Once you “split” RGB into 4 values, we simply multiply main colour by value ranging from 0 to 1. Final step is to convert HSL, back to RGB.
This way, when you group your objects, you can change their colour by lightness, while keeping overall hue intact. You can have most bright elements as main one, like radar and other ones a bit dimmed.
To make this more modular, simply create new slider for each group you want to affect e.g. radar and starship, dots and border and X and crosses – 3 slider in total. Then just replace the names in variables. This way, you can have a little bit more of control over each group.
Displacement – Size
Since we want to displace elements no matter how big and small they are, it makes sense to set up Displace Layer in a way, that it resizes to comp size. This expression does that – no matter how big or small composition is, it will resize itself to match the size.
Looping Keyframes on Masks
You cannot loop keyframes on masks, with LoopOut expression. To achieve this, you have to use valueAtTime expression with modulo, % sign, expression.
You can read more about this operation and how it is used in JavaScript as it is pretty weird to explain.
This project file contains all the assets necessary to make animation in the tutorial in final form. Everything is labeled, linked, with expressions and ready to use, if you wish to make your own version or just play around with it.
If you have any suggestions for tutorials or how I can improve, please do get in touch. I would love to hear from you.


