Tutorial 04: Custom FUI Interface – Number Counter and Spaceship Marker
The idea to make this design, came up to me, when I saw this post on Instagram by Motion Graphics Collective. Design was made by Florentzunino. I liked the dots and vintage look to it, and repetitive “pulses”.
This tutorial is actually split into 6 parts, otherwise it would have been way too long. For other tutorials, please see the following links:
Overall Set Up
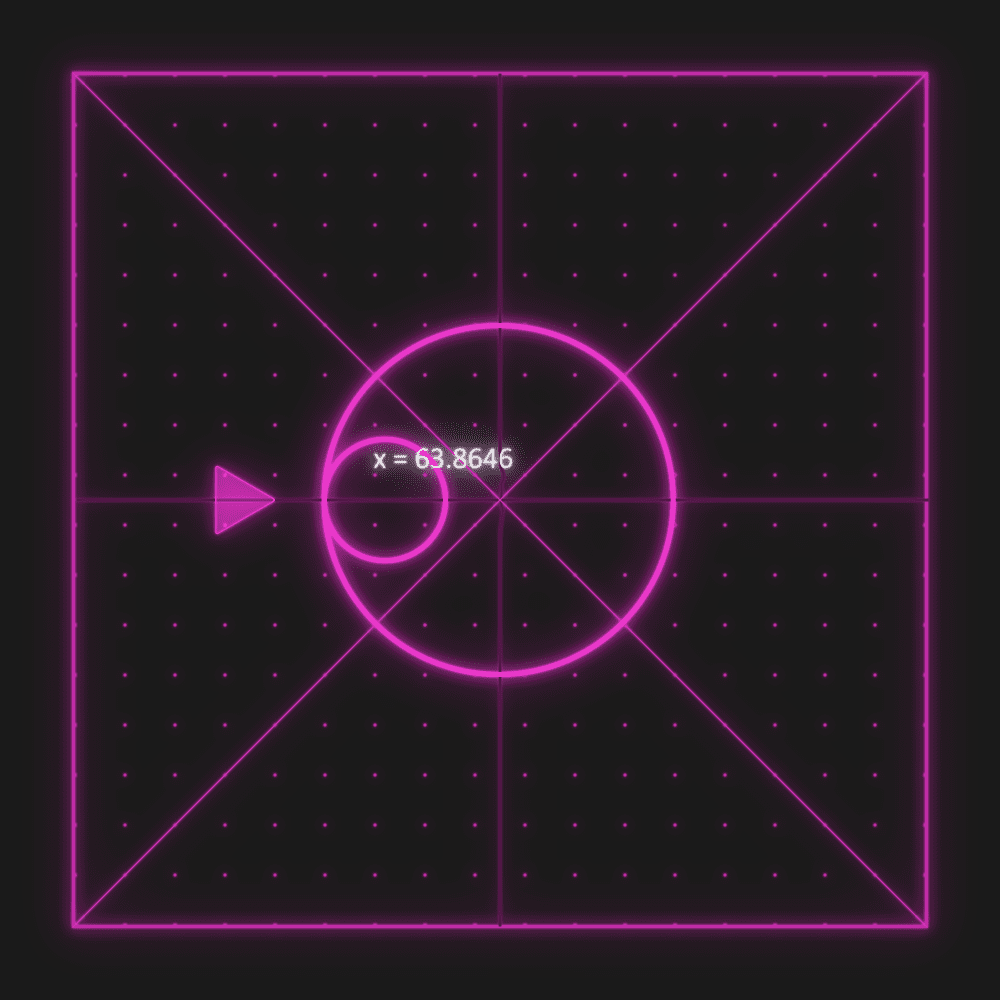
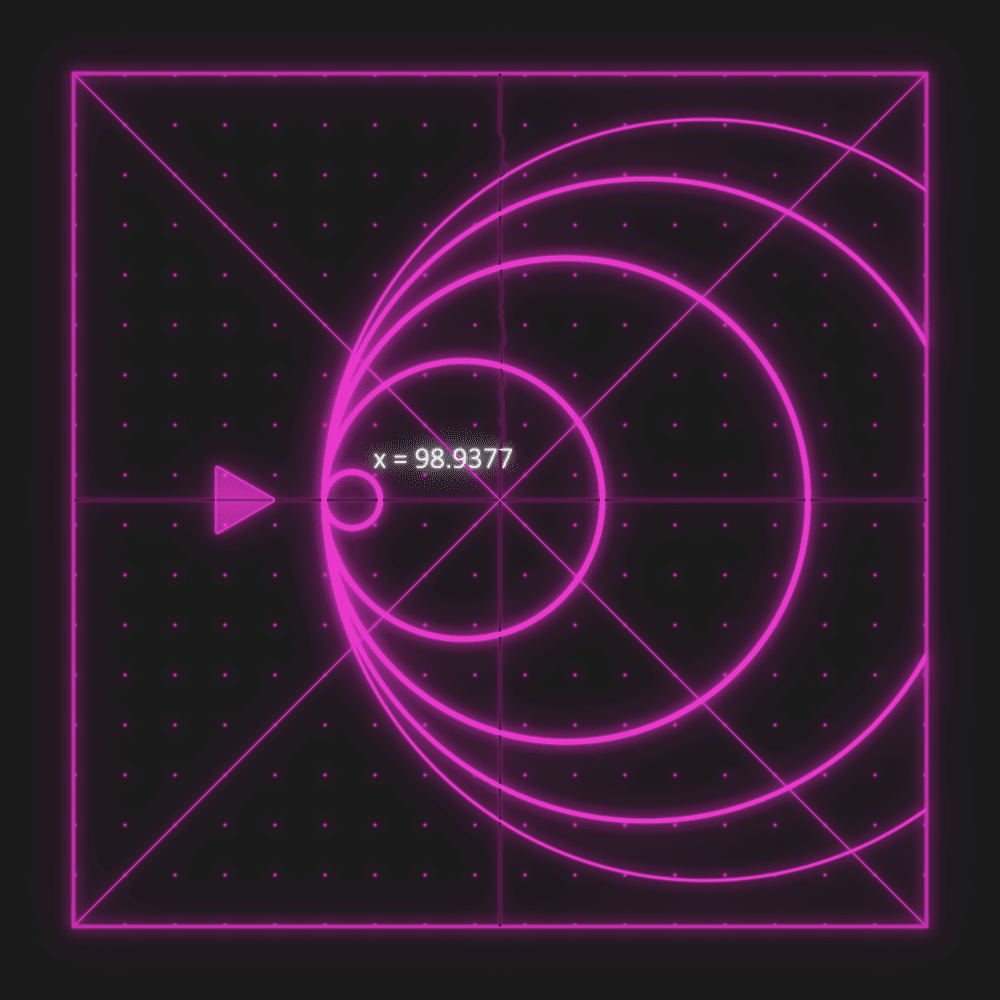
In this section, we will tackle creating a Number Counter out of text layer and a “Spaceship Indicator” with Shape Layer. We will link them together with expressions and add a bunch of controllers on main CTRL layer. This way, we will be able to modify everything with ease.
Anchor Point – Bottom Left
Add this code to Text layer, which we will use to create numbers. This expression will push Anchor Point to bottom left of the layer. It will respond to layer’s changing size – for example if Text font changes.
Position – Offset
This expression looks complicated, but it is similar to Circle Position expression from previous tutorial. The main idea is to offset Number Counter in the same way like Circle, but not on the same X axis – slightly to the side. However, I wanted to keep it directly on a grid, to add extra constrains.
Overall position of Number Counter is being controlled by position of Circle. We can further adjust Y position, as this layer is using value[1] code in the final array.
Number Counter
I think this is the most interesting expression from this tutorial. It is simple and effective.
By using time as a driver of the animation, we don’t need any keyframes. By multiplying this value with number containing decimals, we get numbers with lots of values behind decimals.
Final part is using ‘x= ‘ to add extra information to the number. This part can be changed to produce values like $ or even full words.
To finish this off, we are simply “clamping” the final value to 4 decimals. Simple and effective.
Anchor Point – Center Right
Very similar code to the one above. The only difference is the calculation in the array. This one results in Anchor Point, being pushed to the center right side of the layer.
Position – Spaceship Marker
Very similar expression to Circle and Number Counter position expressions. This one simply offsets spaceship to the left of the Circle. It keeps final indicator in the middle of the layer, since main Cross is there. And Circle originates from middle of the layer too.
This project file contains all the assets necessary to make animation in the tutorial in final form. Everything is labeled, linked, with expressions and ready to use, if you wish to make your own version or just play around with it.
If you have any suggestions for tutorials or how I can improve, please do get in touch. I would love to hear from you.


