Tutorial 03: FUI – Radar Set Up
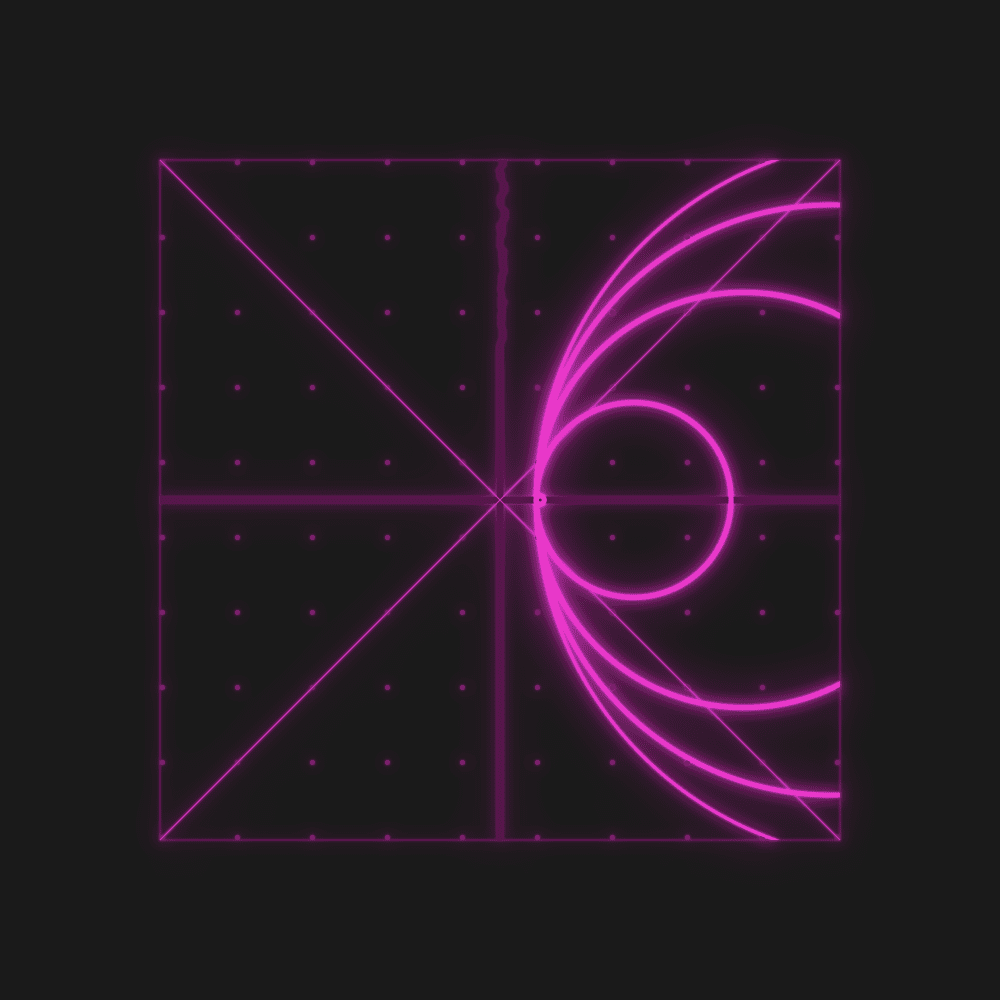
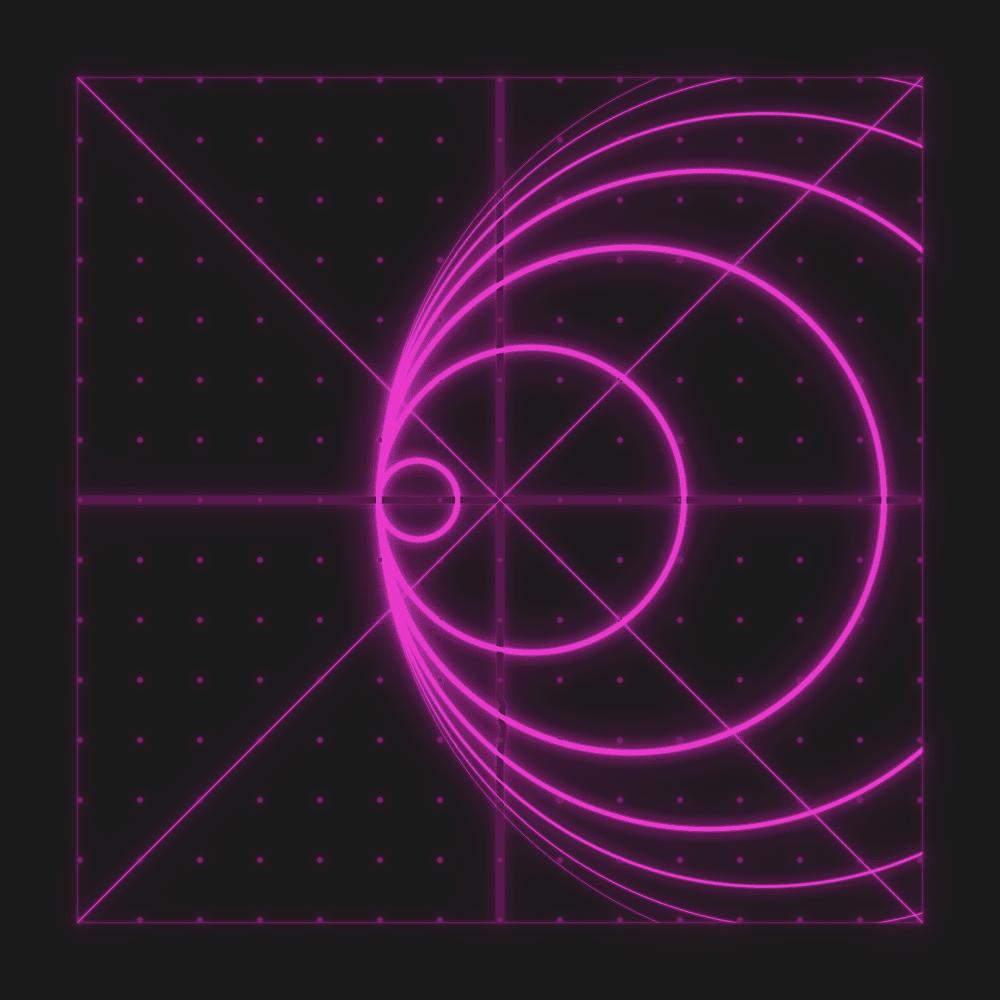
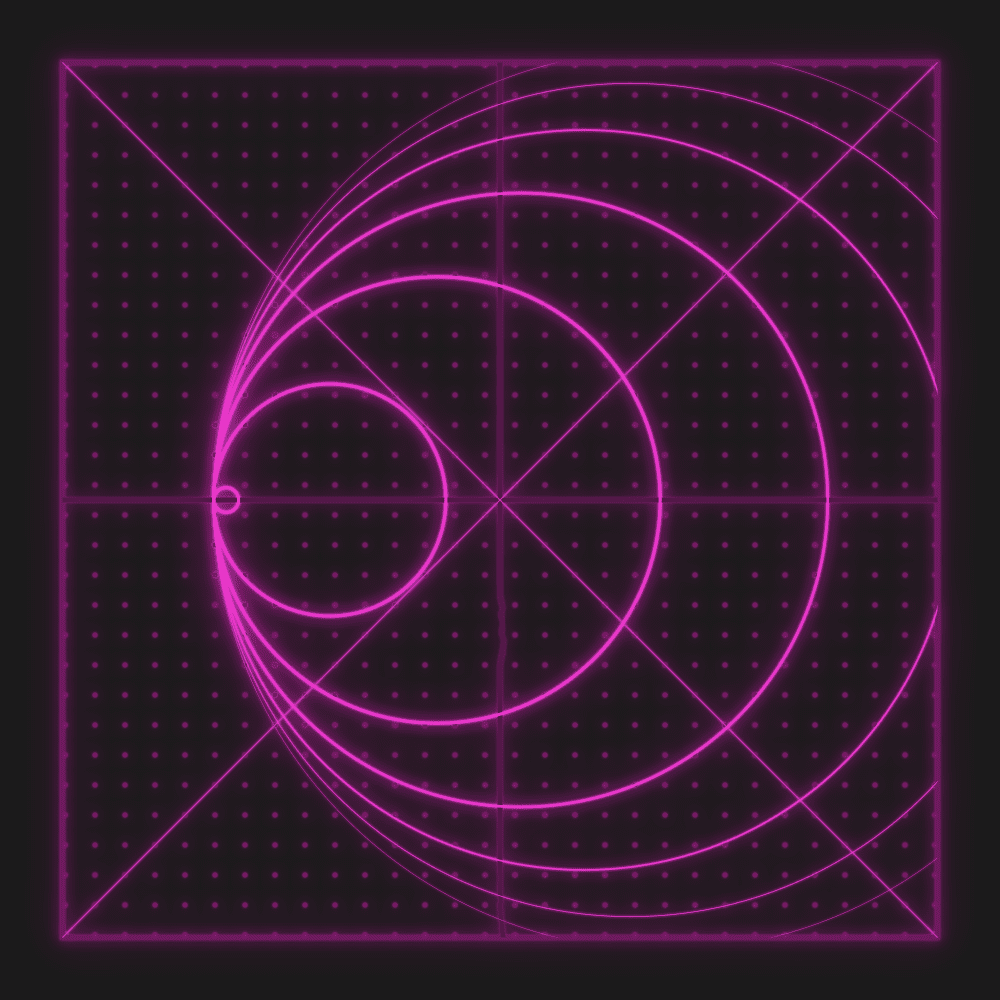
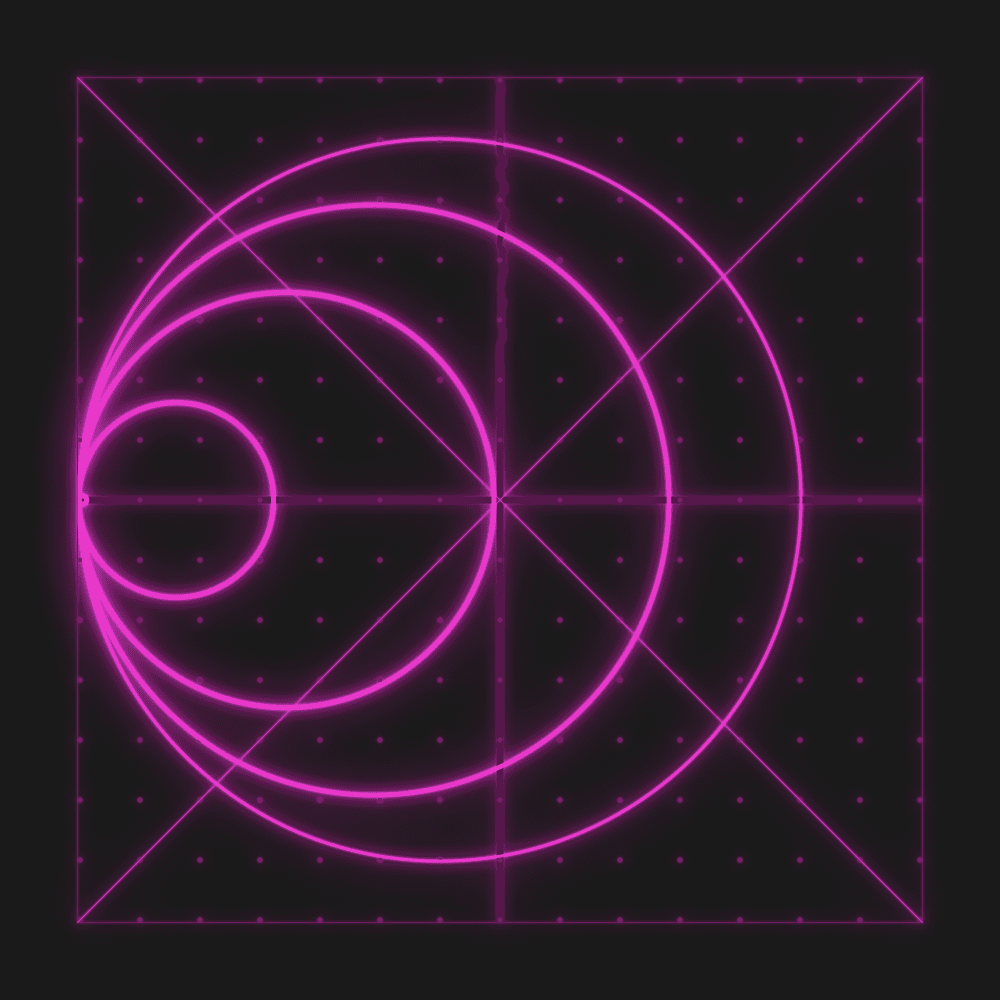
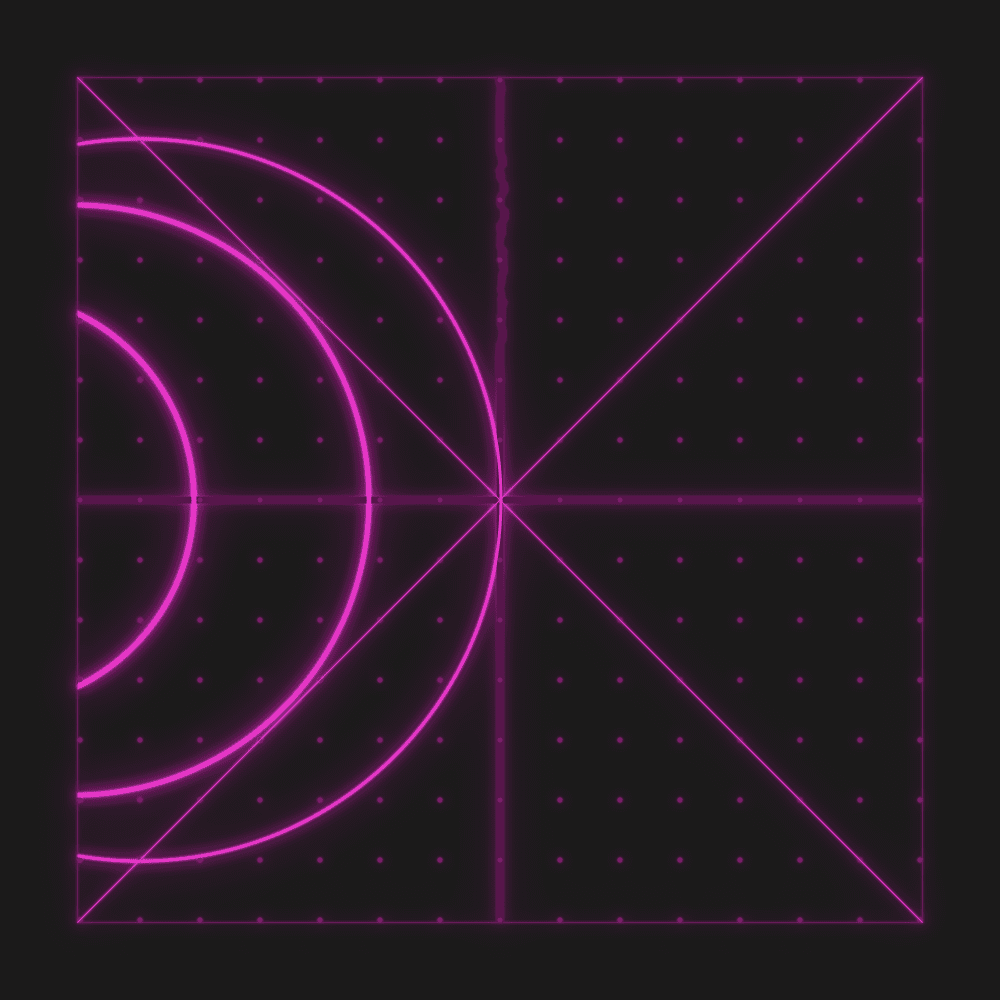
The idea to make this design, came up to me, when I saw this post on Instagram by Motion Graphics Collective. Design was made by Florentzunino. I liked the dots and vintage look to it, and repetitive “pulses”.
This tutorial is actually split into 6 parts, otherwise it would have been way too long. For other tutorials, please see the following links:
Overall Set Up
This tutorial will be a bit more complex than previous 2. We will generate circle to show Radar “beam”. By using linear() expression, we will be able to remap how fast Radar fades over time. It will be a little bit complex, but gives you quite a lot of flexibility.
Circle Size
Set up for this part is to have a slider animated from 0 to 1. Then we re-map those values to our custom values for circle.
Notice the min and max size – min size is 0, so circle is invisible, when it starts. Then with max size linked to variable we can control from Master CTRL layer, we can adjust it as we wish. For example, circle can end up super big or smaller in final state.
Last part in the code is re-mapping animation from slider to our circle size, while being able to adjust the values. We can accomplish this with linear() expression. You want to “feed it” into new variable – X. This way, we can use it in a final array to generate circle.
Circle Stroke Size
We are getting one more level complex on this one.
In this code applied to Circle Stroke, we are linking a bunch of variables, such as Stroke / Circle Min and Max Size. By using ease() expression, we can re-map those values, and add a bit of smoothing at the same time.
The rest of expression is similar to Circle – Size one. However, instead of main layer animation from 0 to 1, we are using Circle Size X value to drive the whole thing. This way, Circle will grow, and it’s size will affect Stroke.
It is basically chaining multiple values together – master one drives animation, then other ones follow.
Anchor Point
This is very similar expression to the previous Anchor Point expressions we used. Except this time, we are pushing Anchor Point to Left Center Side. This way, whole animation will “grow” or originate from that point.
Position Control
Most of the expression is already explained with comments. Basic set up is to define all the variables we set up so far – dot size and numbers, gap, overall position etc. Then we use those values to position circle in center of the composition (x and y) and then offset it dynamically as we need it.
This way, design is not static, but can be adjusted. Please note that expressions are set up in a way to “jump” from one column of dots to another. This way, set up has flexibility, but some rules built in as well.
This project file contains all the assets necessary to make animation in the tutorial in final form. Everything is labeled, linked, with expressions and ready to use, if you wish to make your own version or just play around with it.
If you have any suggestions for tutorials or how I can improve, please do get in touch. I would love to hear from you.


